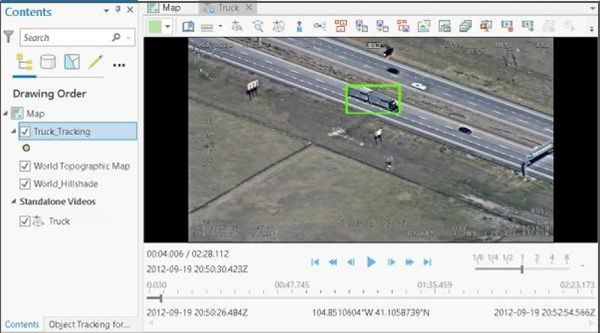
Object Tracking model can be used with the Full Motion Video tools in ArcGIS Pro (version 2.8 onwards). Follow the steps below to use the model for tracking objects in videos.
- Download the Object Tracking model and add the motion imagery in ArcGIS Pro.
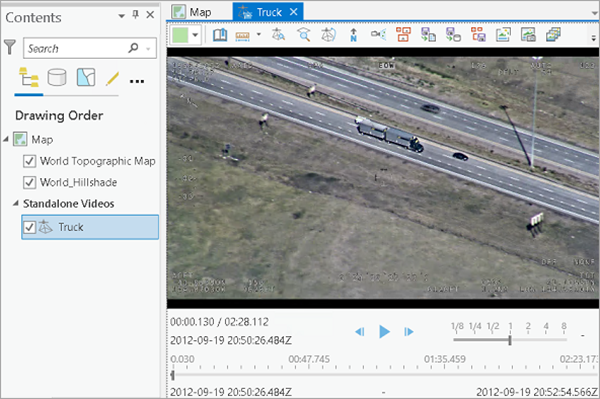
- Click the Tracking Pane button on the Tracking tab to open the Object
Tracking for Video pane.
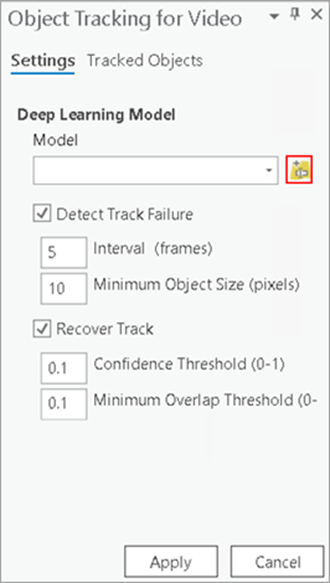
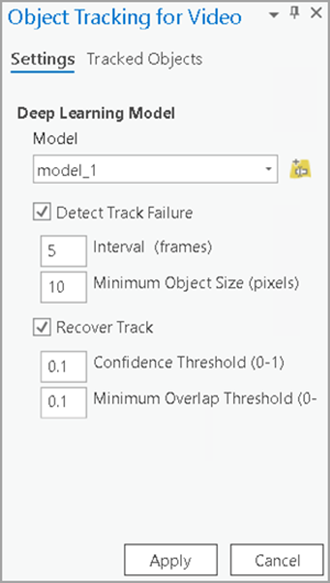
The pane contains the Settings and Tracked Objects tabs. On the Settings tab, you can choose the deep learning model and set parameters for tracking objects.

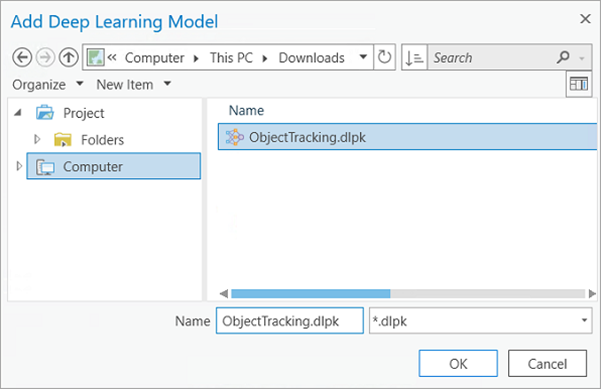
- Click the Add object tracking model using local path or URL button
 to open the Add Deep Learning Model From Path dialog box.
- Specify the path to your deep learning model package file (.dlpk)
by providing a URL or by browsing to the file in a local directory.
You can assign an alias for the model's name in the Model text box.
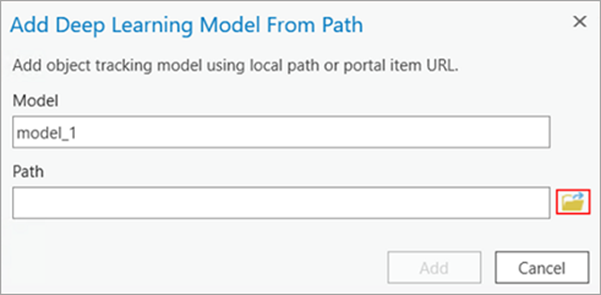
- Click Add to load the model and close the dialog box.
The model name appears in, and is selected from, the Model drop-down list.
- On the Settings tab, set the parameters as follows:
- Detect Track Failure—Specifies whether the object is successfully tracked based on
changes in appearance.
The default is checked.
- Interval (frames)—The interval, in number of frames, at which the application checks for object appearance changes. The default is 5 frames.
- Minimum Object Size (pixels)—Object tracking will cease if an object is smaller than the specified size. The default is 10 pixels.
- Recover Track—Specifies whether an attempt is made to find an
object after the track has been lost.
The default is checked.
- Confidence Threshold (0-1)—The minimum ratio between matched source image features and searched object features for successful recovery. The confidence threshold is a number between 0 and 1. The default value is 0.1.
- Minimum Overlap Threshold (0-1)—The minimum overlap ratio between the detected object and searched object for successful recovery. The threshold is a number between 0 and 1. The default value is 0.1.
- Detect Track Failure—Specifies whether the object is successfully tracked based on
changes in appearance.
- Click Apply and click Enable to activate the Object Tracking
tools.

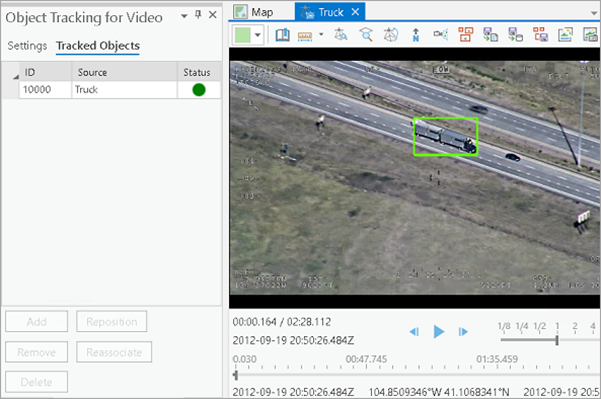
- Click Add Object to draw a rectangle around the object you want to track in the
video player.
The object will be tracked in every video frame.

- On the Tracked Objects tab, view the status of the tracked objects.
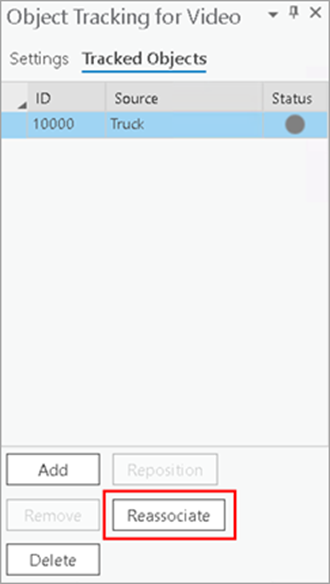
- If the object becomes obscured and tracking is lost, click
Reassociate and redraw a rectangle around the object's updated
position to reengage tracking.
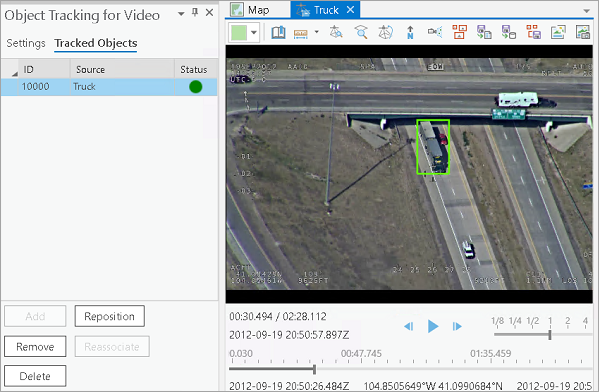
- If a tracking rectangle becomes misaligned with an object being
tracked, click Reposition Object, select its tracking rectangle,
and reposition it around the object.

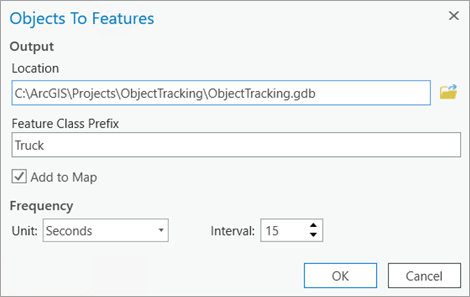
- On the Tracking tab, in the Object Tracking group, click Object(s)
To Feature and specify the output location and prefix name to use
to store the object centroids in a feature class.
Optionally, specify whether the feature class will be added to the map, as well as the frequency interval in seconds by which the centroids will be saved.

- Click the Play button.
The output layer is added to the map.
