The workflow for using ModelBuilder consists of the following steps: create the model, build the model, run the model, and share the model.
Create the model
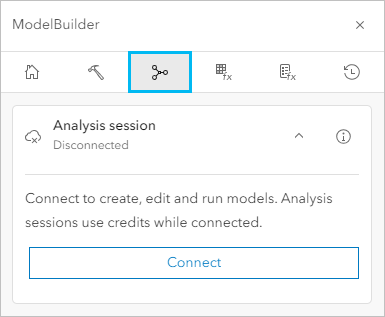
Models are created or opened on the ModelBuilder tab of the Analysis pane.
To open the ModelBuilder pane and create a model, complete the following steps:
- In Map Viewer, click Analysis
 on the Settings (light) toolbar.
 - Click ModelBuilder
 .
.The ModelBuilder pane appears.

If the ModelBuilder tab is not available, contact your ArcGIS administrator. Your account may not meet the requirements to use ModelBuilder.
- In the ModelBuilder pane, click Connect.
Note:
Connecting to an analysis session consumes credits.
ModelBuilder connects to an analysis session, and Create model
 is enabled.
 - Click Create model
 .
.The Create analysis model window appears.
- Provide the required information for the new analysis model item (title, folder, tags, and summary), and click Save.
An empty model opens at the bottom of the map in active mode.
Build the model
Models are built using data and tools, with the output of one tool being used as an input to another tool. You build a model by adding data and tools and connecting them to form a complete workflow.
To add and connect data and tools, complete the following steps:
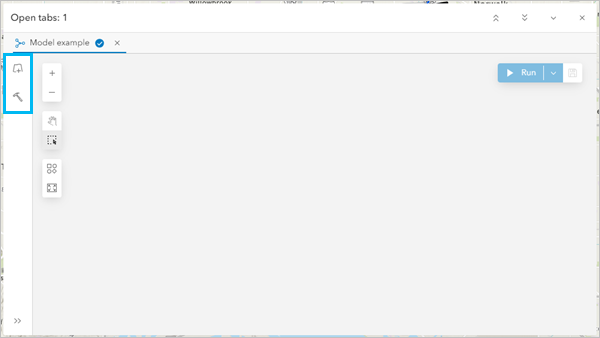
- On the action toolbar, click Add data
 to add data to the model.
You can select one or more layers from the map or browse to add layers. The layers are added to the model as input data elements.
- On the action toolbar, click Add tools
 to add tools to the model.
You can select one or more of the available analysis tools. The analysis tools are added to the model as tool elements.
- Click the port on the right side of a data element and drag it to the port on the left side of a tool element to connect the data and tools, and select the parameter in which the input will be used.

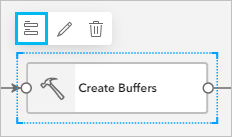
- Double-click a tool element or select Open
 on the element toolbar to open the tool dialog box.
- Configure the tool parameters.
Required parameters are marked with a red dot. For more information about tool parameters, click Help
 next to the parameter or visit the individual tool help.
The Result layer group allows you to create intermediate data, create a new hosted layer, or overwrite an existing hosted layer.
- On the tool dialog box, click Confirm.
The tool dialog box closes and the tool validates.
Run the model
Once all data and tools have been added and connected, and the required tool parameters have been set, the model can be run.
To run a model, complete the following steps:
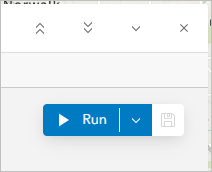
- On the model toolbar, click Run
 .
.
The model runs. The tool elements in the model show the status of the tool run. Outputs from tools configured to publish a hosted layer are added to the map.
- Optionally, click the History tab
 in the Analysis pane to view more details about the model run.
 - On the model toolbar, click Save
 to save changes to the analysis model item.
 - In the ModelBuilder pane, click Disconnect to disconnect from the analysis session.
Share the model
After you've built and run the model, you can share it so other ArcGIS users can repeat the analysis.
To share a model, complete the following steps:
- In the ModelBuilder pane, under Models in this map, click Options
 next to the model name.
 - Click Share model
 .
.The Share window appears.
- Select a sharing level or set group sharing.
- Click Save.