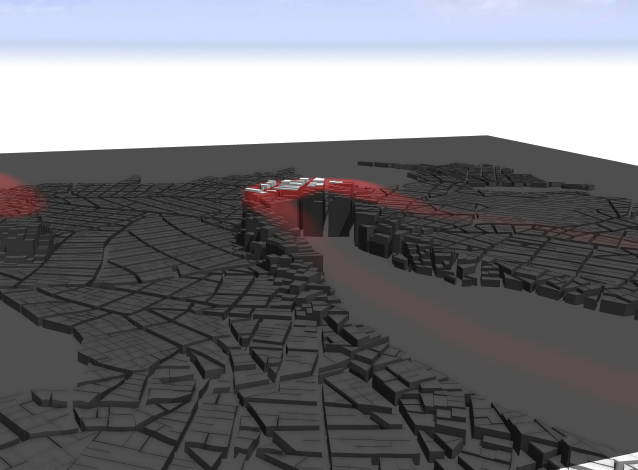
After selecting a Map Layer in the Scene Editor, its properties are visible in the Inspector. You can edit the layer parameters such as map files, positioning bounds, and the elevation offset. In addition, an overlay color and alpha value for the map can be specified. Depending on the layer type, some options may not be available.
Furthermore, the mapping functions can also be edited in the Inspector, see Edit Map Layer functions.
Move and scale a Map Layer in the Viewport
If you select one or more attribute layers in the Viewport, you may use the transform or scale tool in order to move or scale the layer(s) directly in the Viewport.
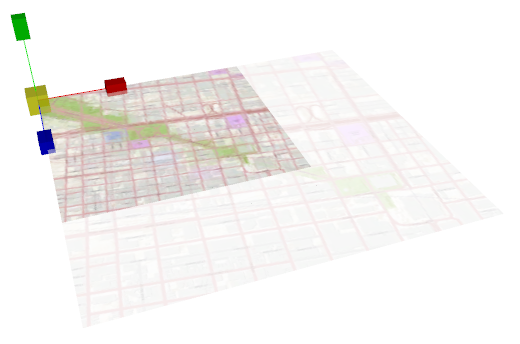
Editing Map Layer attributes
Map layers can have their own attributes. These are defined in the Layer Attributes pane of the Inspector, with the Map Layer selected.
Edit Map Layer functions
Map layer function editing is very similar to CGA shape grammar editing, but only a subset of functions are available for attribute layers and no rules or shape operations. Use the command completion Ctrl`+Space to see a list of available functions.
attr elevation = map_01(brightness, 1.17549435E-38, 27.620806)
+ elevationDelta + elevationOffset
There are two predefined attributes that will be used for street generation and other generative parts of CityEngine:
- attr elevation controls the elevation of the heightmap of a terrain layer.
- attr obstacle controls the obstacle avoidance of the street generation.
Examples
| attr elevation = sin(u * 6.3) * cos(v * 6.3) * 100 | Create a terrain as a function of sine and cosine. |
attr obstacle = brightness > 0.5 | Define all bright parts of an image map as obstacles. |
attr height = exp(u * 5) | Control the height attribute of a rule file with this exponential function. |
attr selection = rand > 0.5 | Define a boolean attribute that can be used for selection to select 50% of the objects randomly. |
| Define a string attribute that can be used by a CGA shape grammar rule to control e.g. building appearance. |
Layer attribute code in detail
Map layers in general define one or more attributes as a function of the location and optionally a mapping channel. The dimension of the map are normalized to the interval [0..1]. Thus the lower left corner of your map has the coordinates (0, 0) and the upper right corner of the map has the coordinates (1, 1). The normalized position is available as the predefined values "u" and "v" respectively for attribute functions. For example the following function will control the elevation by trigonometric functions:
attr PI2 = 3.141 * 2 // approx. 2 x PIattr elevation = sin(u * PI2) * cos(v * PI2) * 100In addition to that, inside an attribute function, "red", "green", "blue", "alpha", "hue", "saturation", "brightness" address the individual channels of the map. For each object, the attribute function is evaluated with the projection of the center of gravity (centroid) to the x-z plane.
In the following illustration, the attribute "x" is evaluated at the center of gravity (centroid) of the object which is mapped onto the standard [0..1] range for the "u" and "v" parameters. In addition to that, the map is sampled at the position "u,v" and its red channel is used for the calculation of "x".
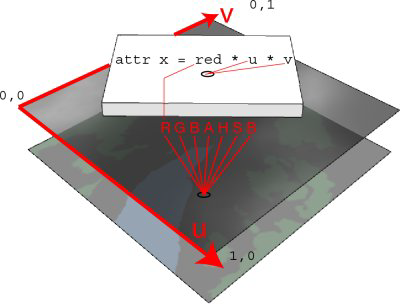
Mapping image data to rule attributes
Map layers are a very powerful tool to control CGA shape grammar rules. Any attribute that you have defined in your CGA shape grammar rules can be mapped from an attribute layer. This allows you to guide your rules by maps. Typically, maps are used for controlling building attributes such as height or appearance, level of detail, or land-use mixes.
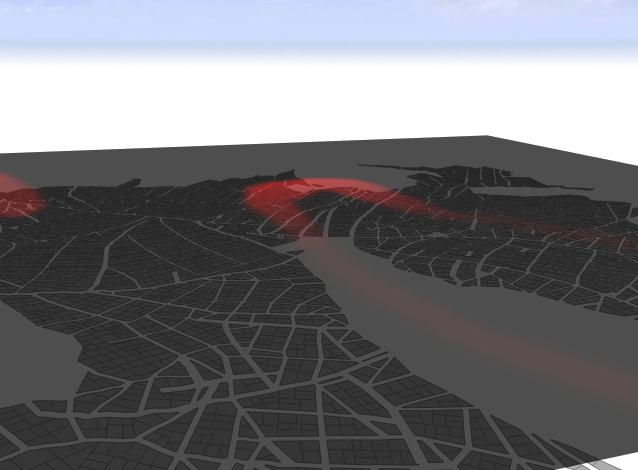
The image below is going to be used as source image to control the height of a set of buildings.
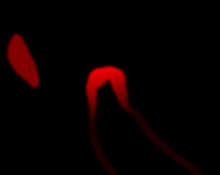
Assume you are starting from a scene with a set of building footprints like in the image below:
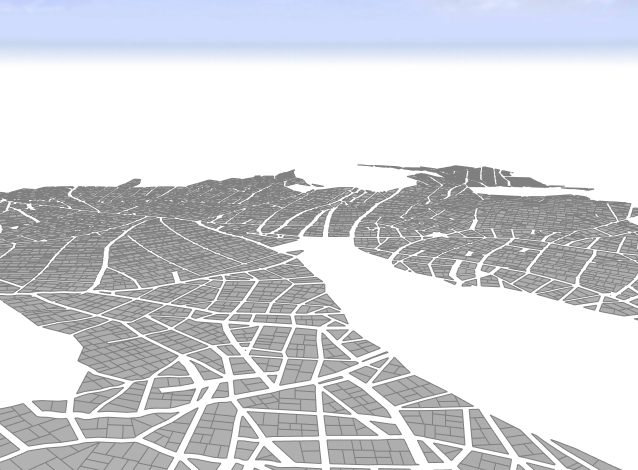
All shapes have a rule file assigned that extrudes the footprints to a certain height.
attr height = 30
Lot --> extrude(height)
Create the Mapping Layer
Create a new Mapping Layer, choose your skyline map, set the bounds to fit your scene, and add a new attribute skylineValue. Its range will define the range of the building heights.
Connection Editor
To connect attributes, do the following:
- Select all footprint shapes, and choose Connect Attribute... for rule attribute height in the Inspector to open the Connection Editor.
- Choose layer attribute.
- Select the new Skyline map layer.
- Select the attribute skylineValue.
