In CityEngine, building models are described through CGA rules. A CGA rule file consists of several rules that define how the actual building geometry is created. After a CGA rule file is assigned to a shape, the generation of the building model starting from this shape can begin.
Create and write a rule file
You can create a CGA shape grammar rule file by clicking New > CityEngine > CGA Rule File.
A new CGA file is created in the rules/ directory of your project, and the CGA Editor window is opened. In the CGA Editor, grammar authoring can be started by defining the building parameters. Therefore, the minimum and maximum building height are defined as rule attributes. These values can later be changed conveniently for single buildings in the Inspector window.
attr minheight = 10
attr maxheight = 30
To learn more about creating rules in the CGA Editor, see Work with rules.
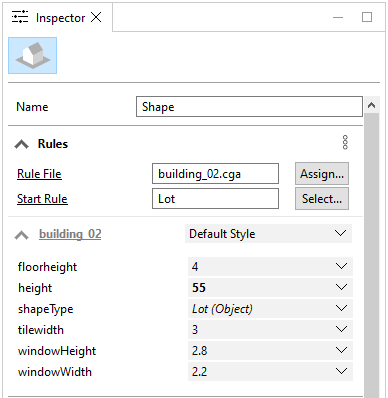
Every shape (lot or street shape) has a specific start rule that triggers a rule from the rule file. For example, lots generated in CityEngine have the Lot start rule by default. Select a single lot and look into the Inspector window to see the current start rule.

To learn more about rule attributes in the Inspector window, see Rules.
The start rule defines the first rule that is triggered from the rule set. Consequently, you can write the start rule for a building as follows:
Lot --> extrude ( rand ( minheight, maxheight )) EnvelopeThe lot is extruded to a random height between minheight and maxheight.
Note:
Press Ctrl+Spacebar in the CGA Editor to trigger the code completion feature. Possible commands and their parameters are listed as suggestions, which allows you to code CGA without looking up commands in the reference.
Assign rules and generate
Assign the created rule file to the corresponding shapes (in the above case, to lots):
- Select the lot layer Lots in the Scene Editor window.
- Click Shapes and click Assign Rule File on the main menu.
- Select the CGA file from the rules directory.
- Click OK.
The selected lot now has an assigned rule file.
- Select lots in the Viewport window.
- Click Generate on the toolbar to generate the buildings.
You see the generated buildings using a simple extrusion rule in the CGA file for deviation.

The generated extruded models are shown.