ArcGIS Earth allows you to browse 2D and 3D content from a mobile device.
- Tap the Toolbox button
 .
. - Tap the Add Data button
 that appears. Choose one of the following:
- URL
 —Add data by entering a data URL.
 - Portal
 —Add data from portal content.
 - File
 —Add local files stored on the mobile device.
 - QR Code
 —Add data by scanning a QR code.
Once added, data shows as a layer in the table of contents on the Data tab. The data is automatically zoomed to and displayed in the scene for visualization.
- URL
- Tap View
 to turn layer visibility on and off.
 - Long press to select Share
 to share data, select AR Mode
  to view data in AR mode, or select Delete
  to delete a layer from the table of contents.
- Tap to identify a feature in the scene and view data attributes in the pop-up that appears.
- Tap the more options button
 to view, hide, or delete multiple layers.
Add data with a URL
ArcGIS Earth supports adding a URL that represents the following data types:
- KML or KMZ service
- Map service
- Image service
- Feature service
- Scene service
- Vector tile service
- 3D tiles service
- Portal item
- Tap the Toolbox button
 and select Enter a URL
  .
. - Add the correct URL and tap Enter or OK
 to add data.
Tip:
Next to the URL, you can add data by scanning a QR code. Tap the Add data from QR Code button  .
.
Add data from portal content
ArcGIS Earth allows you to connect to ArcGIS Online or ArcGIS Enterprise and access your organization's data from mobile devices. You can sign in by tapping My Account  .
.
Supported services include the following:
- ArcGIS Server web services
- Map service
- Image service
- Feature service
- Scene service
- Mobile scene package
- Vector tile service
- 3D tiles service
- Web map
- Web scene
- KML or KMZ service
- Files
- Mobile scene package
- GeoPackage
- Tile package
- Scene layer package
To browse content, tap Add Data  and select Portal Content
  . By default, ArcGIS Earth allows access to public content from ArcGIS Online. Once signed in, you are presented with options to search, sort, and filter data from My Content, My Favorites, My Groups, and My Organization in the portal.
Note:
- ArcGIS Earth supports ArcGIS Enterprise portal logins starting at Portal for ArcGIS 10.4.
- Signing in to ArcGIS portals with PKI security is not supported on the ArcGIS Earth mobile app.
- ArcGIS Earth supports downloading mobile scene packages, GeoPackages, tile packages, and scene layer packages to mobile devices and exploring the data.
- ArcGIS Earth allows users to view previews of bookmarks from web scenes or web maps.
ArcGIS Living Atlas of the World contains ready-to-use maps and scenes. You will see the Living Atlas tab if your portal administrator configures access to ArcGIS Living Atlas content for the organization. Most ArcGIS Living Atlas layers are free to use in
your scene and can be viewed by anyone, but some layers contain subscriber content or premium content, which consumes credits (these are identified in the item description with
subscriber  and premium
  icons and can't be viewed by the
public).
When searching for data to add, you can change the way the results are displayed. Use Sort  and Filter
  to help you find the data you need. You can also view details of each layer before adding it to the scene:
- Type a keyword to search for relevant content.
- Use different categories to help you narrow the results.
- Tap Sort
 to change the order of the
results.
 - Tap Filter
 to filter the content of the
results.
 - Tap Details
 to open the portal item page from ArcGIS Online.
When adding and previewing content on the scene, tap Favorite  to add the current data to My Favorites in ArcGIS Online or ArcGIS Enterprise (for signed-in accounts). Tap Favorite
  again to remove the current data from My Favorites. Tap Exit
  to restore the home window.
Note:
- You only see some of these options if you are not signed in or if you are signed in with a public ArcGIS Online account.
- Only ArcGIS Living Atlas of the World presented with standard category sets is listed in the Living Atlas group.
Add local files
Mobile users usually need to work in areas with unstable network connections or under a disconnected environment. The mobile version of ArcGIS Earth supports several types of local files that can be used offline:
- Mobile scene packages (.mspk)
- OGC GeoPackages (.gpkg)
- KML and KMZ files (.kml and .kmz)
- Tile packages (.tpk and .tpkx)
- Vector tile packages (.vtpk)
- 3D tiles files (.3tz)
- 3D model (.dae)
- Scene layer packages (.spk and .slpk) with the following layer types:
- 3D object
- Integrated mesh
- Point cloud
- Point
- Raster data:
- ASRP/USRP
- DTED0,1, 2
- GeoTIFF
- IMG
- JPEG
- JPEG2000
- NTIF
- PNG
- SRTM1,2
- MrSID
Note:
- You can add most simple KML files of placemarks, lines or paths, polygons, and 3D models. More complex .kml files will be supported in a future release.
Only .dae files are supported for 3D models. Initial placement allows editing of scale, heading, tilt, roll, and position.
- The mobile scene package is designed to take 2D and 3D content offline for use across ArcGIS systems. It packages one or more scenes, as well as locators, into a single file. ArcGIS Earth allows you to open one offline global scene at a time, and search for places with a consolidated locator that is included in a mobile scene package. You can create a mobile scene package in ArcGIS Pro and share it to your ArcGIS organization or copy it to your mobile device.
- If the scene's tiling scheme in the mobile scene package is different than the Web Mercator Auxiliary Sphere tiling scheme (WKID 102100), the data cannot be added to ArcGIS Earth on mobile devices.
There are multiple ways to add and share local data on mobile devices.
iOS
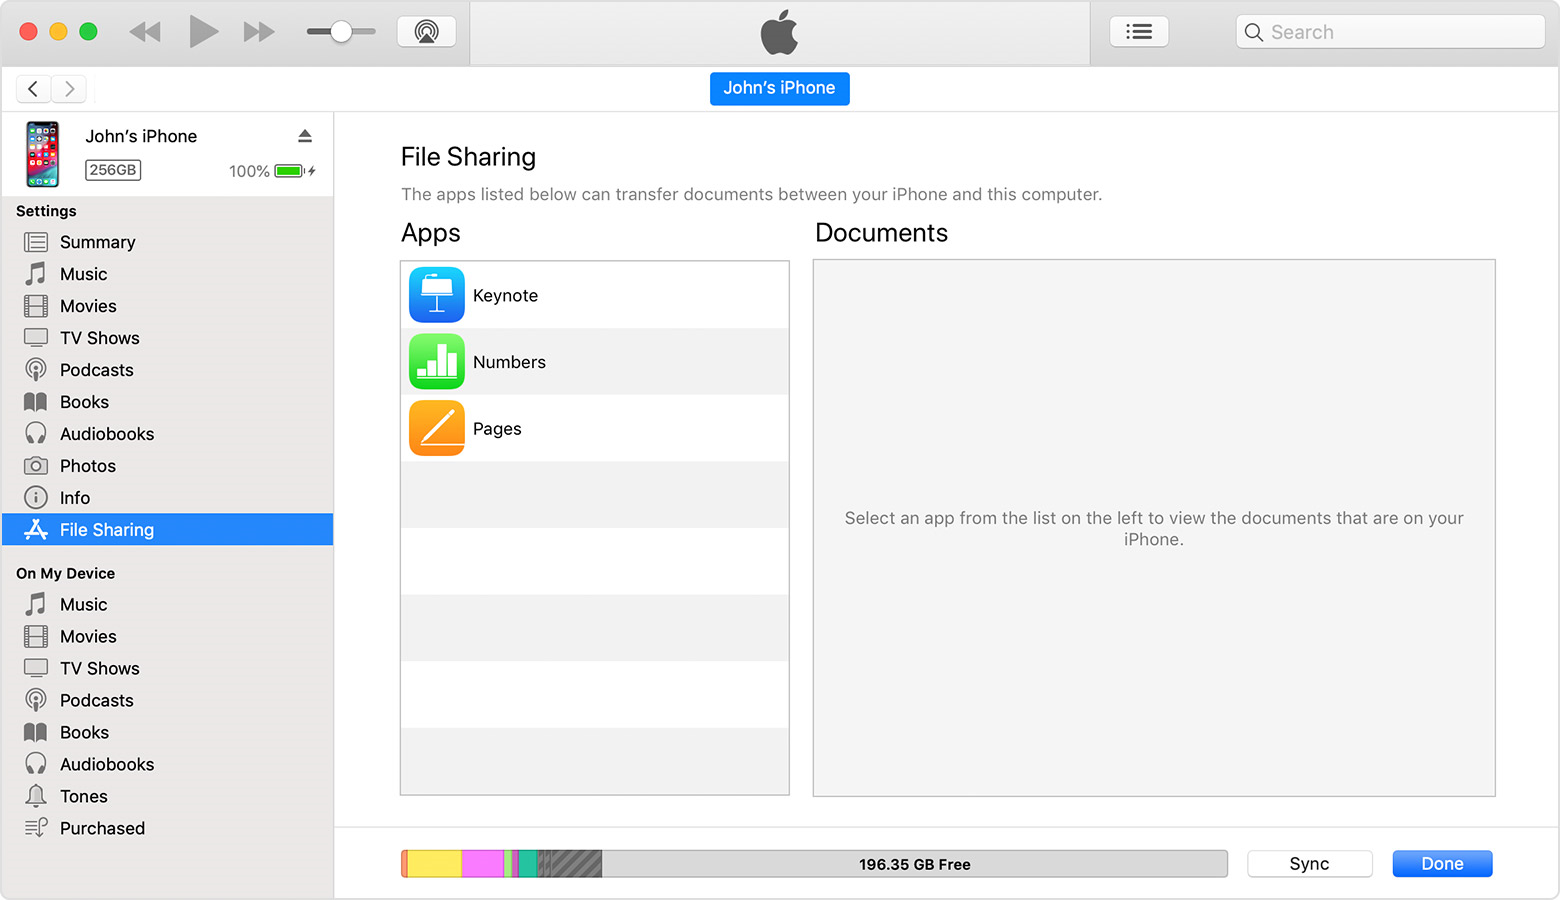
To copy a local file to an iOS device, see Use iTunes to share files for details. You can also share data among devices with AirDrop, download and add data from browsers, and download and add data from email attachments or instant message apps such as Messenger.

Android
To copy a local file to an Android device, see Transfer files between your computer and Android device for details. You can also share data among Android devices using Bluetooth, download and add data from browsers, and download and add data from email attachments or instant message apps such as Messenger.
Add data from a QR code
A QR code is a square bar code that stores information in a machine-readable optical label. Adding data by scanning a QR code generated by ArcGIS Earth provides a fast and convenient way to present, collaborate, and communicate among multiple users or audiences. In comparison with searching data with keywords or typing a service URL, adding data from a QR code saves time and effort for mobile users by allowing them to point their camera at the QR code. Or, users can tap Album to select a photo if they have saved the QR code image to the photo gallery.
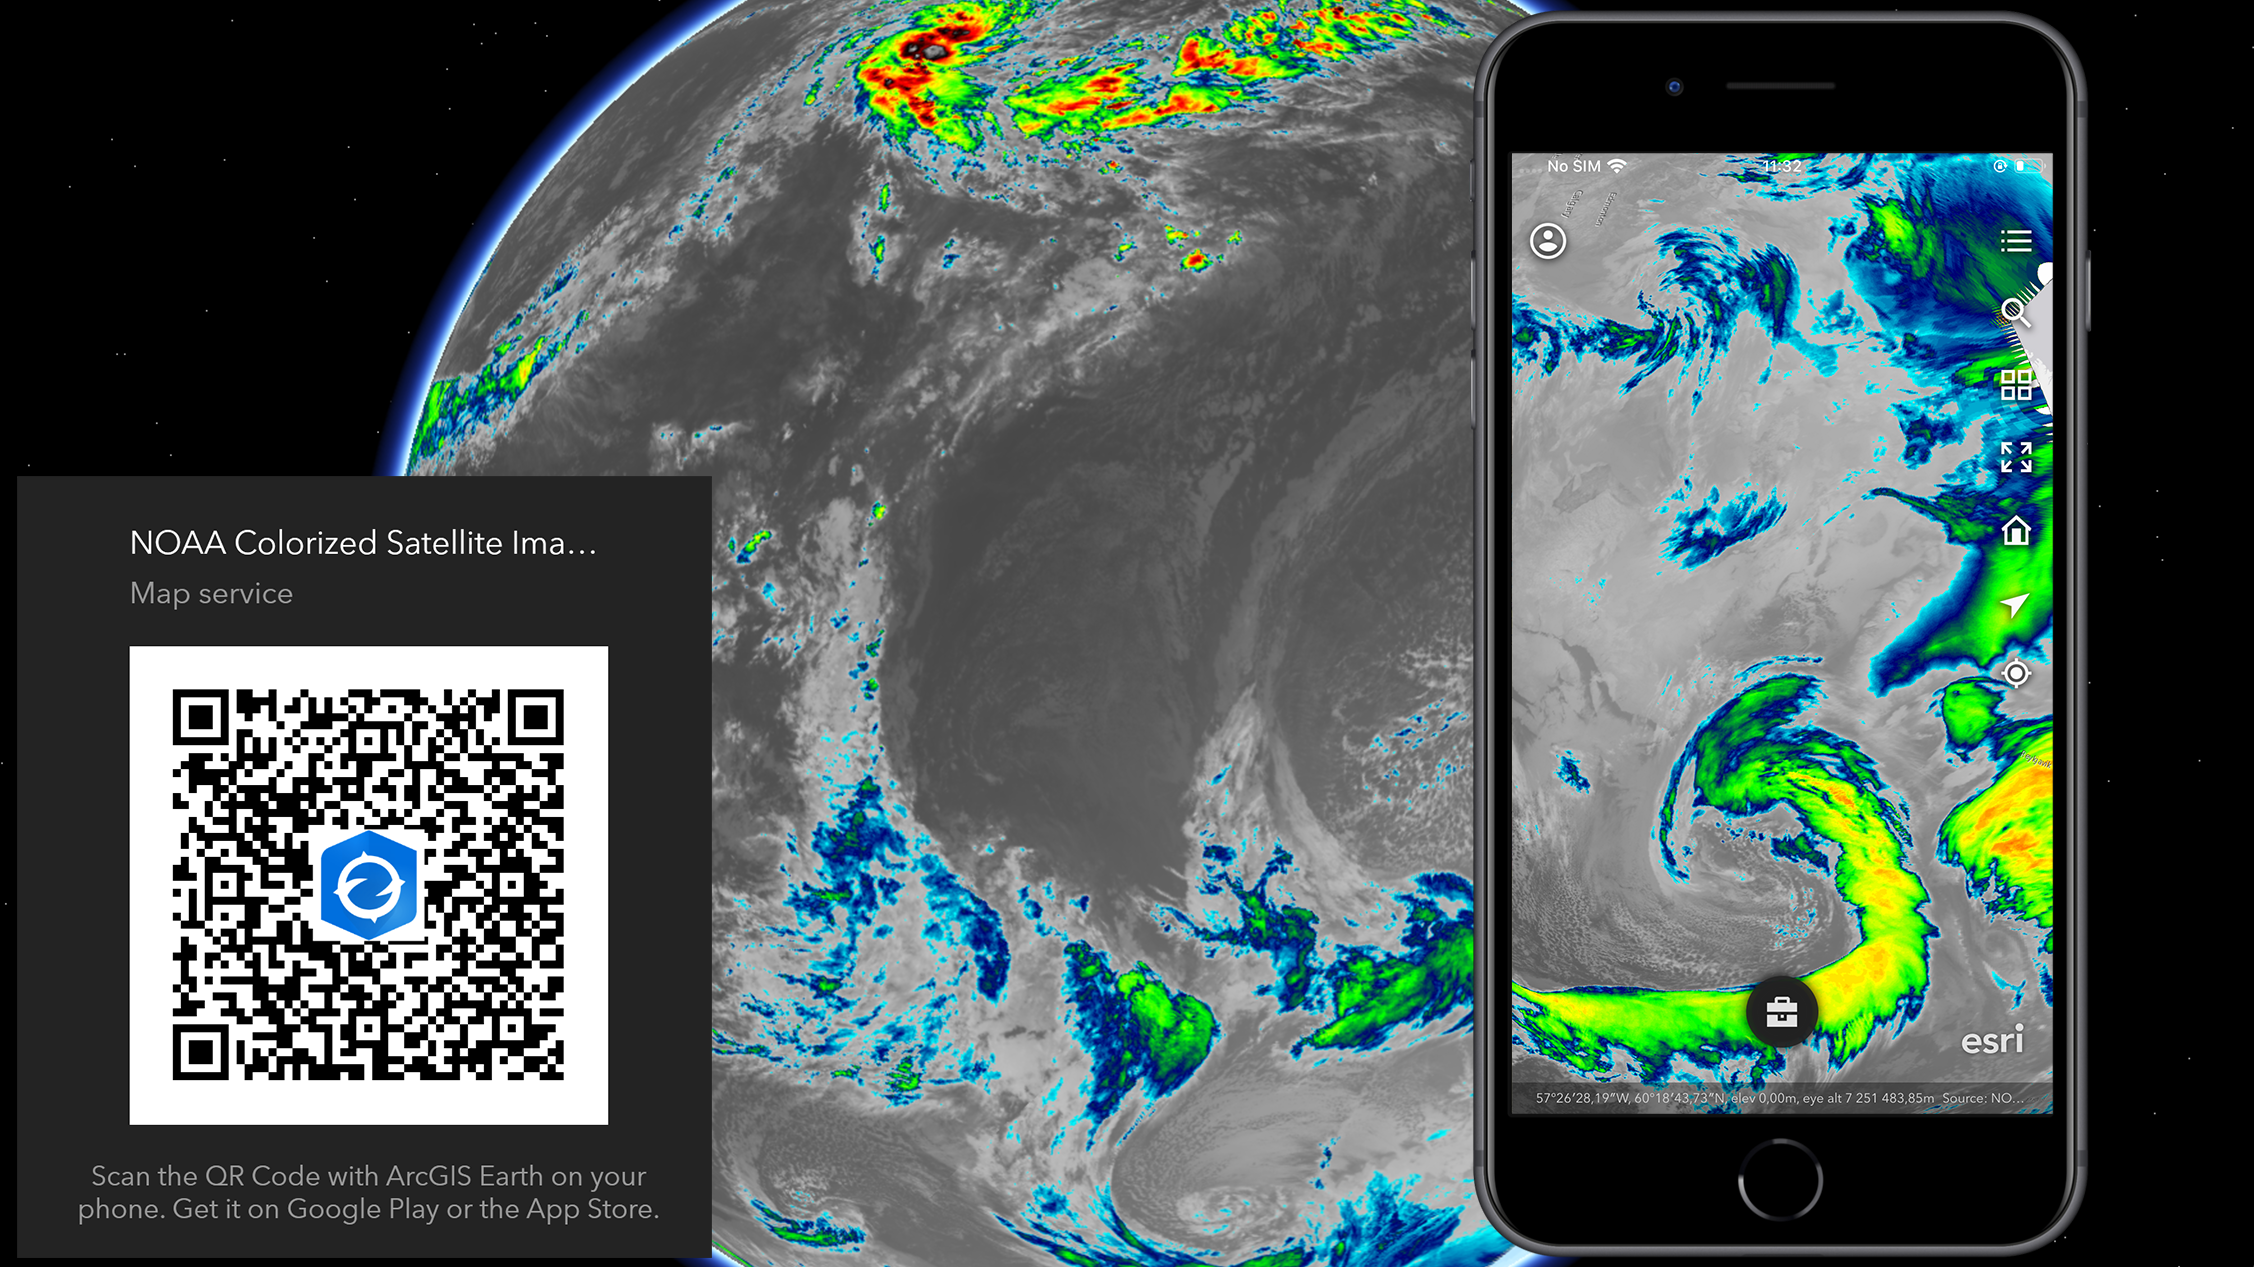
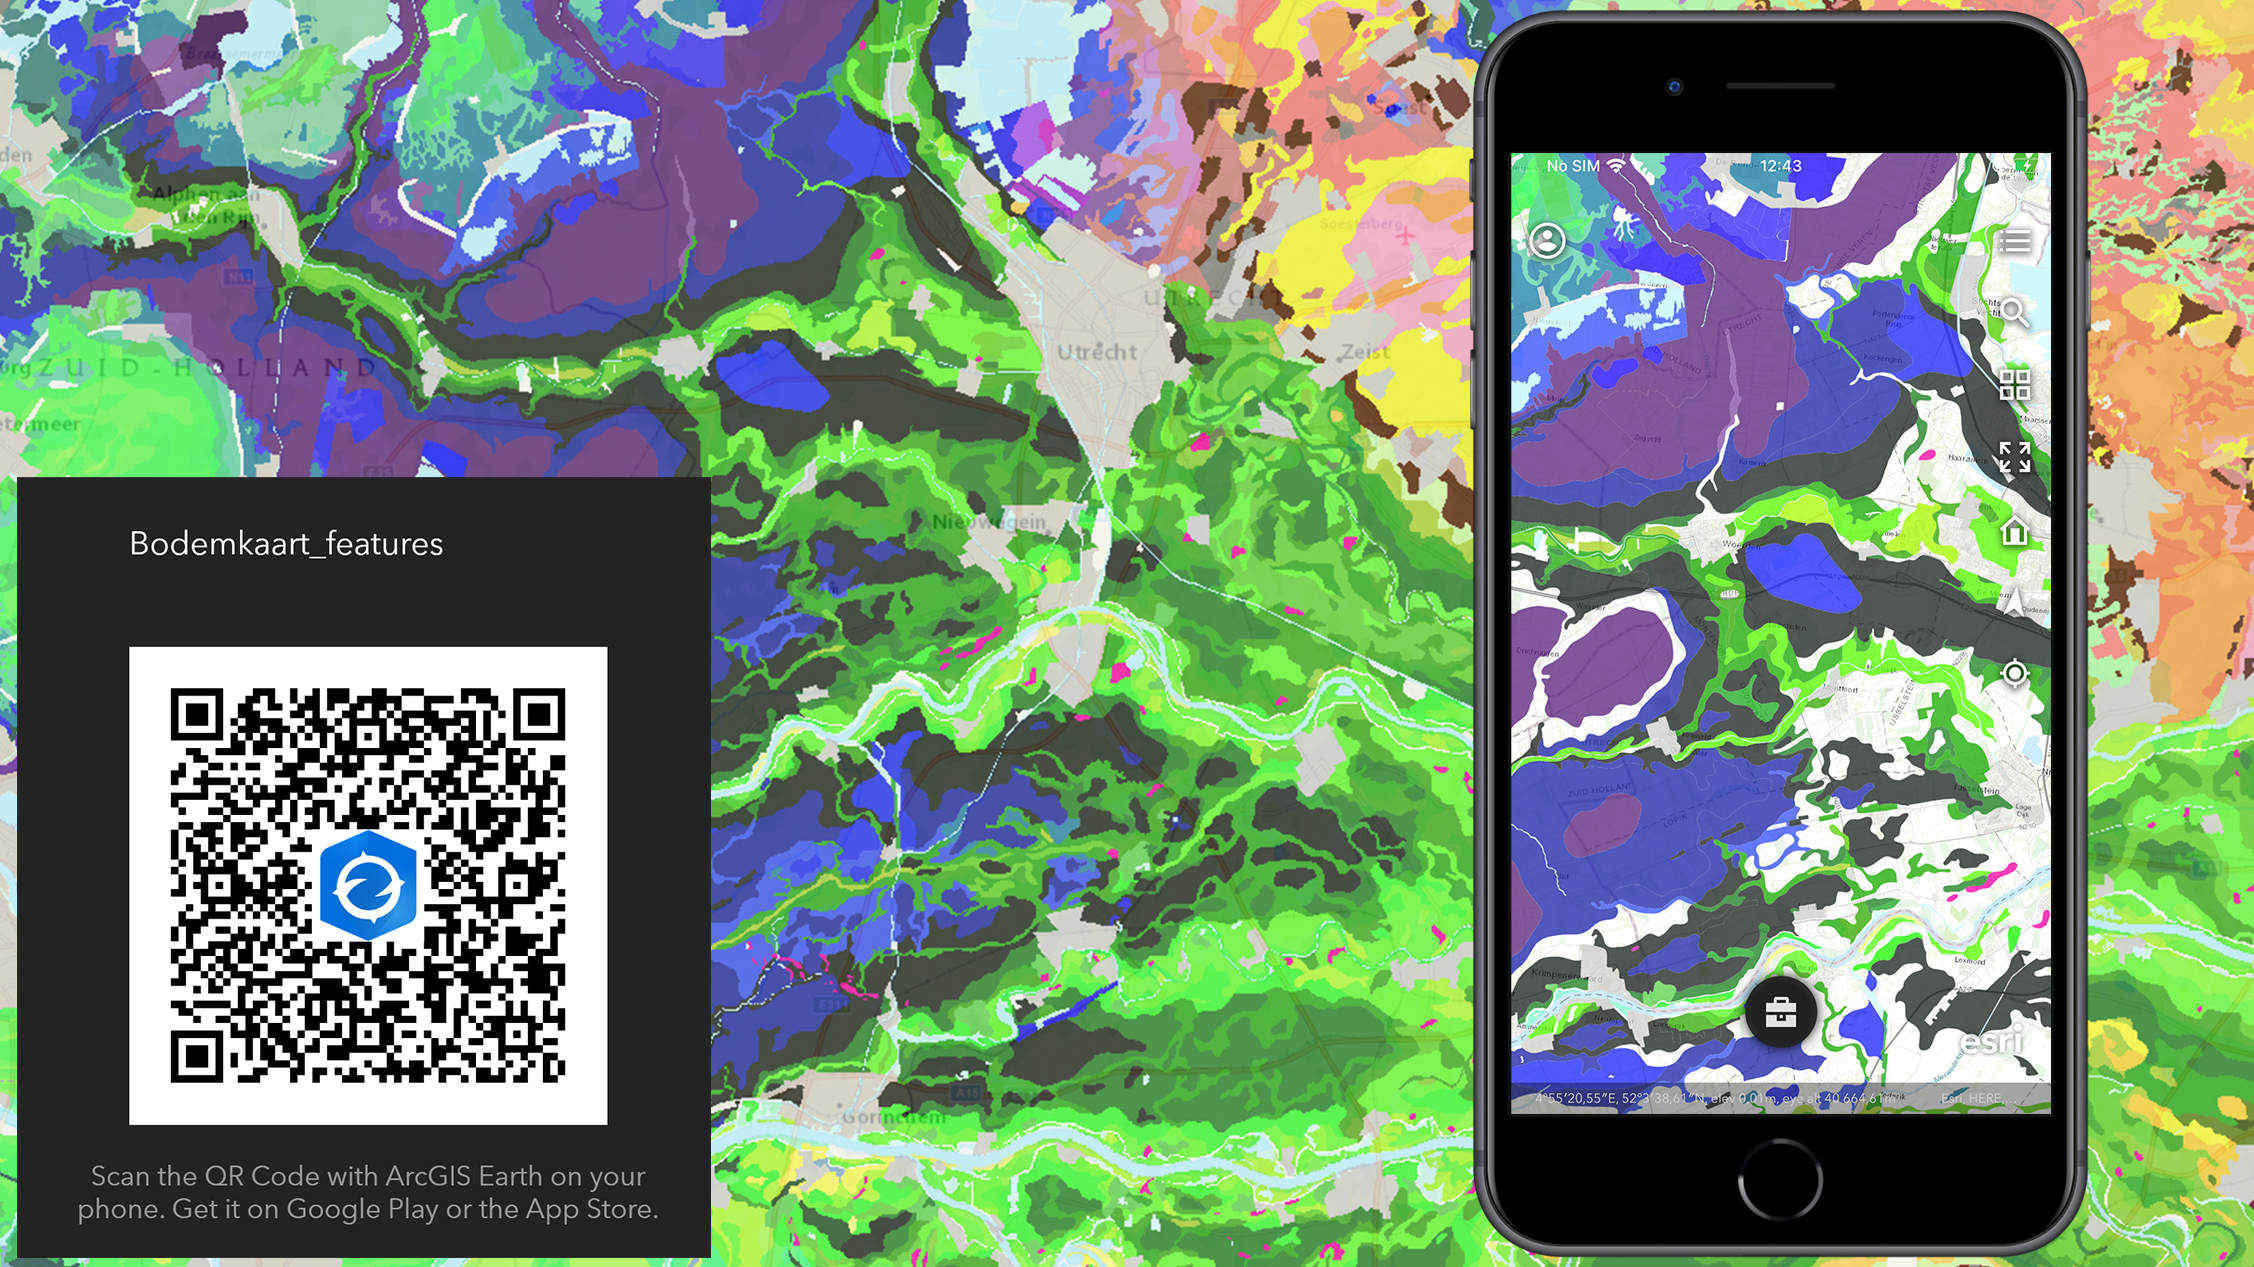
Get started by scanning the QR code samples below with ArcGIS Earth on your mobile device.
Sample 1: NOAA Colorized Satellite Imagery

Sample 2: Bodemkaart—Soil map of the Netherlands

Note:
You must connect to the portal first to add and view the portal items.
View data in AR mode
ArcGIS Earth allows you to visualize data in Augmented Reality mode. You can take a screenshot or record a video to capture your data in a real-world environment.
There are two ways of entering AR mode:
- Choose AR data from the ArcGIS Gallery when the app is launched.
- Long press or swipe left the layer in the table of contents.
Once you enter AR mode, you can start by finding a nearby surface. Then, tap to add data on the surface. Once you finish visualizing data in AR mode, you can share the data:
- Tap the Screenshot button
 to take a
screenshot and share it.
 - Tap the Screen Recording button
 to record a
video and
share it.
View time-based animation
ArcGIS Earth supports loading temporal KML or KMZ layers, feature services, or image services. You can interactively view your data changing over time. Using the slider controls, you can control the animation of your data over time to play or pause, go to the previous time interval, and go to the next time interval.
To view time-based animation, complete the following steps:
- Add temporal data to ArcGIS Earth from portal contents or a local file, a QR code, or a URL.
If data is added from portal contents, the preview of time animation will be played automatically.
- Long press the layer from the data list and select Play
 to enter the animation play mode.
 - Drag the slider in Time Slider to configure the start point and end point of the time interval.
- Tap the Play button
 to begin animating the layer.
 - Tap the Pause button
 to pause the animation.
 - Tap the Previous button
 to go back to the last data interval.
 - Tap the Next button
 to advance to the next data interval.
- Tap the Play button