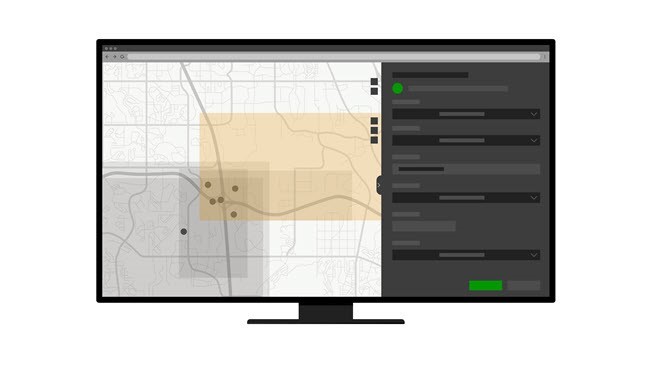
Use the Create New Issue widget to create an issue for features that need to be reviewed by creating a point feature on the map.
Complete these steps to create an issue:
- Click the Create New Issue widget
 .
.The Create New Issue widget panel appears.

- Click a location on the map to specify the issue location.
- Click the Type drop-down arrow and choose an issue type.
- Optionally, click the Status drop-down arrow and choose a status.
- Provide a name for the issue in the Title text box.
- Click the Due Date text box and choose a due date.
- Click the Linked Document drop-down arrow and choose the document that contains the issue.
- Optionally, click the Root Cause drop-down arrow and choose what caused the issue.
- Optionally, provide a description of the issue in the Description text box.
- Click Create.
The issue is created and appears in the Issue table in the Table widget.