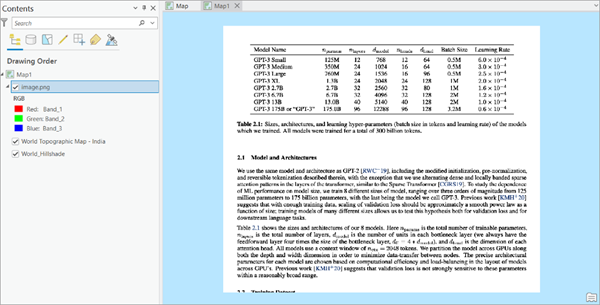
You can use this model in the Detect Objects Using Deep Learning tool available in the ArcGIS Image Analyst toolbox in ArcGIS Pro.
- Download the Table Extraction model and add the image in ArcGIS Pro.

- Click the Analysis tab and browse to Tools.

- In the Geoprocessing pane, click Toolboxes and expand Image Analyst
Tools. Select the Detect Objects Using Deep Learning tool under Deep Learning.

- On the Parameters tab, set the variables as follows:
- For Input Raster, select the image.
- For Output Detected Objects, set the output file name that will contain the results.
- For Model Definition, select the pretrained model .dlpk file.
- Optionally, for Arguments, change the values of the arguments.
max_num_cols sets the number of fields in the table. The default value is 25.
- Optionally, for Non Maximum Suppression, check the check box to remove the overlapping features with lower confidence.
If checked, do the following:
- Set Confidence Score Field.
- Optionally, set Class Value Field.
- Optionally, set Max Overlap Ratio.
- Optionally, check Use Pixel space to specify whether inferencing will be performed on images in pixel space.

- On the Environments tab, set the variables as follows:
- For Processing Extent, select Current Display Extent or any other option from the drop-down menu. Note: If multiple tables are present in the image, set the desired extent to the table of interest.
- For Processor Type, select CPU or GPU as needed.
It is recommended that you select GPU, if available, and set GPU ID to the GPU to be used.

- Click Run.
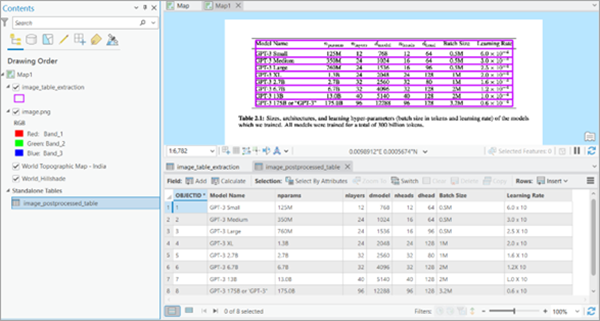
The output layer is added to the map.
- Right-click the output layer and open Attribute Table to view the extracted table. Optionally, change the symbology of the layer for better visualization.

- Optionally, postprocessing the table.
In certain cases, this toolbox can be used to postprocess the table to make the following changes:
- The additional columns with Null values are removed.
- Valid field names and aliases are set using the first row of the extracted table. The first row should not be empty.
- The fields are assigned the appropriate data type if the extracted data in each field is consistent.
- Make sure you have downloaded the Postprocess Table Toolbox (.atbx file). To add it to ArcGIS Pro, right-click Toolboxes on the Project tab in the Catalog pane. Click Add Toolbox. Select the toolbox Postprocess Table Toolbox file (.atbx) from the folder where you have downloaded it and click OK.
The downloaded toolbox is added under Toolboxes.

- Expand the new toolbox and double-click the Postprocess Table file.

- Set the required
parameters.
- For Input Feature Class, select the feature layer to postprocess.
- For Output Table, add the name of the output table file.

- Click Run.
- Add the output table to the Contents pane from the path where it is saved. Right-click the output table and select Open to view the postprocessed table.
