The transform tools allow you to manipulate and manually adjust your objects by moving, scaling, and rotating.
Move
To move objects, click the Transform Move tool  (W). You can also click Edit > Move Tool in the main menu.
Drag the handles to move along individual axes. Use the yellow handle to move the selection on the xz or object planes. Use the orange sphere to drag the selection onto any plane and snap to faces, vertices, edges, or guides. You move selected objects and components along the x, y, and z axes. These axes are defined by the current reference systems.
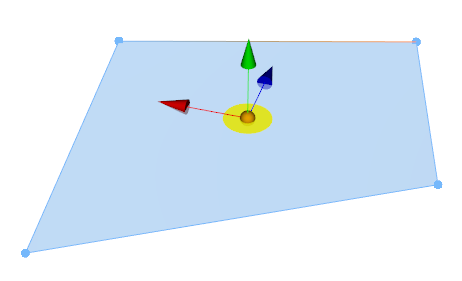
Select vertices and edges to transform them separately from the whole shape.
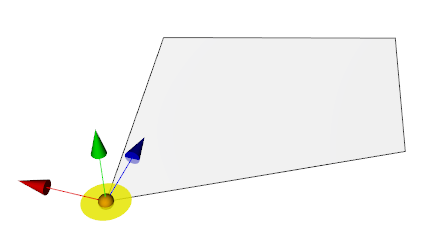
You can apply transform move options, such as reference system, position and orientation, translation, or snapping in the Transform Move tool options  .
.
Transform Move tool options
The Transform Move tool options  include the following:
 Transform Move Transform Move | |
| Reference System | See Reference system. |
| Adjust the Position and Orientation | |
| Translation (m) | Distance in meters to move objects along the axes of the reference system. The color of the boxes match the axes in the Viewport window.
|
| Snapping | Turn snapping options on and off. Select objects or components and do one of the following:
|
| Copy on Move | Create a copy of the selection when moving objects. Press Ctrl to temporarily turn on or off this option. |
Scale
To scale objects, click the Transform Scale tool  (E). You can also click Edit > Scale Tool in the main menu. You can scale selected objects and components along the x, y, and z axes. Use the yellow handle to uniformly scale along all axes.
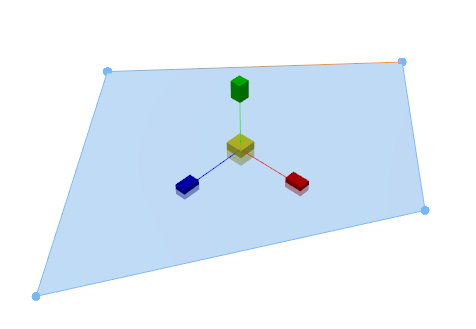
You can apply transform scale options, such as reference system, position and orientation, scale, or snapping in the Transform Scale tool options  .
.
Transform Scale tool options
The Transform Scale tool options  include the following:
 Transform Scale Transform Scale | |
| Reference System | See Reference system. |
| Adjust the Position and Orientation | |
| Transform Individually | When multiple objects are selected, scale individual objects around their centroid with axes defined by the reference system.* |
| Scale (%) | Scale objects along the axes of the reference system.
|
| Snapping | Turn snapping options on and off. Press Shift to temporarily turn on or off snapping. |
Rotate
To rotate objects, click the Transform Rotate tool  ( R). You can also click Edit > Rotate Tool in the main menu. You can rotate selected objects and components along the x, y, and z axes.
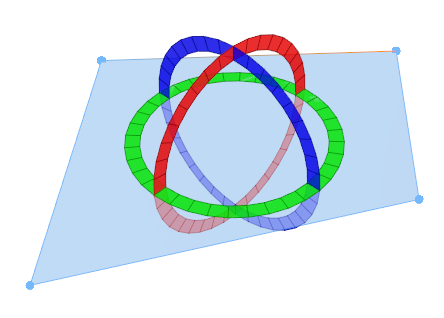
You can apply transform rotate options, such as reference system, position and orientation, rotation, or snapping in the Transform Rotate tool options  .
.
Transform Rotate tool options
The Transform Rotate tool options  include the following:
 Transform Rotate Transform Rotate | |
| Reference System | See Reference system. |
| Adjust the Position and Orientation | |
| Transform Individually | When multiple objects are selected, rotate individual objects around their centroid in which axes are defined by the reference system.* |
| Rotation (°) | Rotate objects around the axes of the reference system.
|
| Snapping | Turn snapping options on and off. Select objects or components, drag a rotate axis handle, and do one of the following:
|
| Snap to discrete angles | Rotate in discrete intervals. |
* When the Transform Individually option is turned on, the position of the transform tool handles is always at the center of the lead selection and is not affected by changes to the Adjust the Position and Orientation tool position.
Reference system
Transformations operate by default along the principal x, y, and z axes of a scene in the world reference system. Additionally, for customization and precision, you can apply transformations using the object reference system or create a custom reference system to save and apply to other objects in the scene.
To choose a different reference system to apply to object transformations, click the drop-down menu next to Reference System in the transform Tool Options windows  . Click any of the following:
- World—Transform tools are aligned to the axes defined by the scene coordinate system.
- Object—Transform tools are aligned to the objects' features (edges and normals).
- {Custom reference system}—Transform tools are aligned to the axes of a custom reference system that you create and save. See Custom Reference System.
Create a custom reference system
You can create a custom reference system (CRS) in which the orientation of the axes handles are saved for later to apply with the transform tools.
To add or update a CRS in a scene, do the following:
- Click the Adjust Position and Orientation toggle key or press O to reposition the transform tool.
The transform tool switches to the position and orientation axes handles.
- Drag or rotate the axes handles to change orientation, or drag the orange sphere handles.
As you rotate the axes, they snap similarly as the Transform Rotate tool.
- To add or update the current orientation of the axes as a CRS, click the Save CRS As... button
 to open the Add / Update Custom Reference System dialog box.
 - Choose to add or update an existing CRS:
- To add the CRS, name the new CRS and click Add.
- To update an existing CRS, select a CRS in the list and click Update.


Note:
The position of the CRS is not saved.
- Click Cancel to close the window without adding or updating CRS.
Edit CRS
You can rename, reorder, or remove an existing CRS by doing one of the following:
- Click Edit CRSs... in the Reference System drop-down menu.
- Click Edit > Edit Custom Reference Systems... in the main menu.
The Edit Custom Reference Systems dialog box appears.

Adjust Position and Orientation
The Adjust Position and Orientation tool in  Tool Options allows you to temporarily adjust both the position and the orientation of the transform tools handles.
- Select the objects or components to transform.
- Click the Adjust Position and Orientation toggle key or press O to reposition the transform tool.
The transform tool switches to the position and orientation axes handles.
- Move your mouse to a new location and click to reposition the tool to that place.
You can also reposition the tool by dragging or rotating the axes handles or dragging the orange sphere handles. Rotate the reposition tool and it snaps similarly as the Transform Rotate tool.
Once you move or rotate the reposition tool, the Reference System drop-down menu displays Temporary.
- Click the Adjust Position and Orientation toggle key or press O to switch back to the transform tool.
- Apply the new position and orientation with any of the transform tools.
- To add or update the orientation of the axes as a CRS, click the Save CRS As... button
 to open the Add / Update Custom Reference System dialog box.
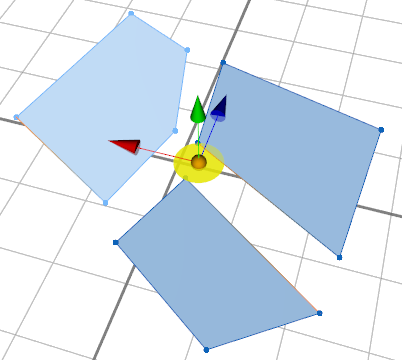
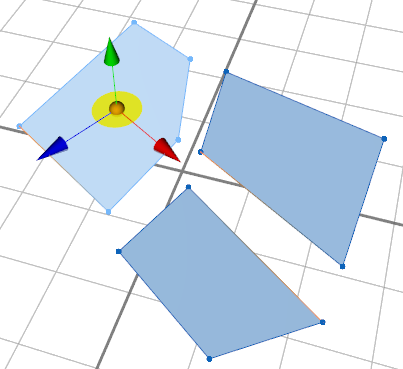
The original rotation tool, moved outside of the shape, and the new tool position are shown. The tool automatically snaps to vertices, edges, faces, and guides as you reposition the tool.
When you deselect, select another shape, or change reference systems in the drop-down menu, the reference system position is reset.
Object selection
If object space is active and multiple objects are selected, the current reference system is determined by the currently selected object or lead object. The lead object is always the most recent individually selected object. You can change the lead object by pressing Shift and selecting the new lead object.
 —Enables uniform scaling along the axes.