The editing toolbar contains commands related to the active editing tool. By default, it appears horizontally at the bottom of the active map or scene. You can customize the size and location of the toolbar.
You can customize the toolbar graphically using the pointer.
Customize size and location
To customize the size and location of the editing toolbars, complete the following steps:
- If the editing toolbar does not appear in the active view, do one of the following:
- In the Create Features pane, click a polyline or polygon feature template.
- In the Modify Features pane, click Vertices
 and select a polyline or polygon feature.
- On the toolbar, click Configure tool feedback options
 .
.
- Choose a size and orientation. To cancel, click anywhere on the map.
- Hover over an empty box to preview your selection.
- Click the box to apply the size and orientation to the toolbar.
Enable or disable the editing toolbar
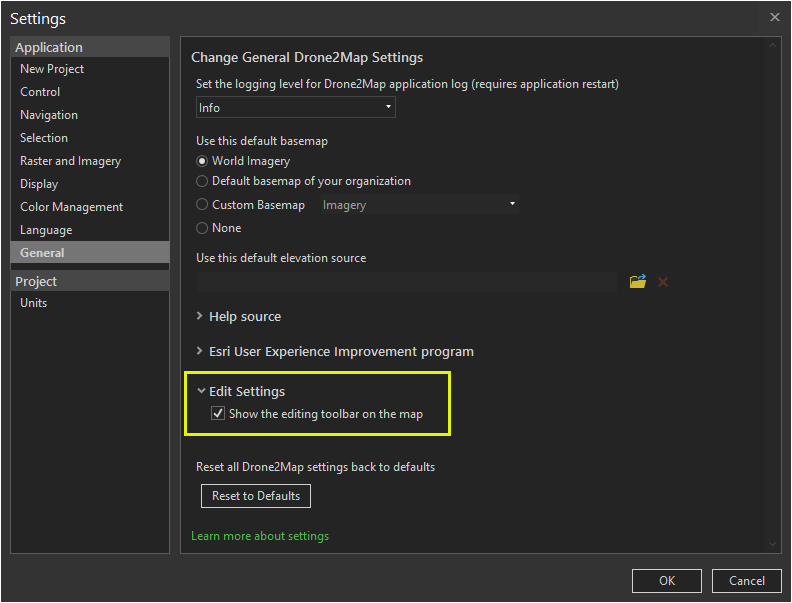
If you uncheck Show the editing toolbar on the map, the toolbar disappears. You can enable the toolbar again in the backstage.
- Click the Project tab to show the New Project page.
- On the ribbon, click Settings to bring up the Settings window.
- In the General section, click the Edit Settings drop-down arrow.
- Check or uncheck the Show the editing toolbar on the map check box.
