To access the tutorials in CityEngine, click Help > Download Tutorials and Examples.... After choosing a tutorial or example, the project is automatically downloaded and added to your workspace.
Create footprint and extrude
- Double-click the 14B_Advanced_01.cej scene in the Navigator.
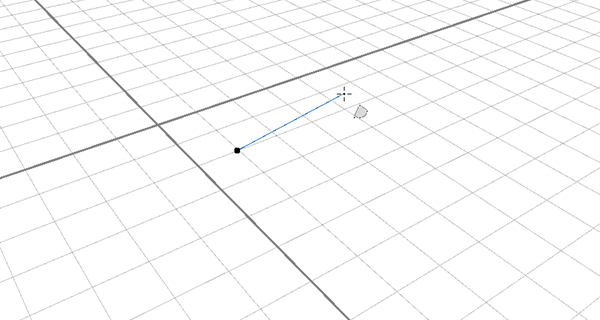
- Select the Polygonal Shape Creation (S) tool
 , and click to set the first point.
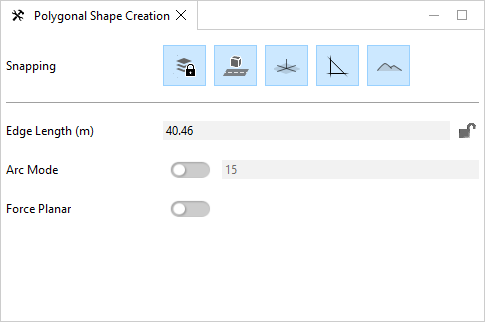
 - To set the length of the line to 11, press the Tab key, enter the length in the Edge Length field, and press Enter.
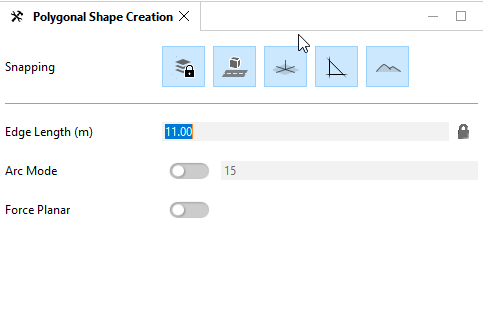
The line turns magenta to indicate its a fixed length.
- Move the fixed segment to snap to the global axes.
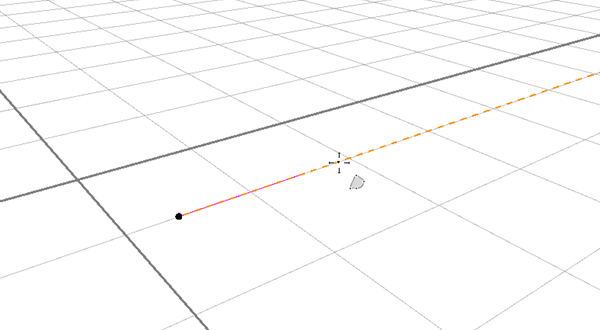
- Click to set the second point.
- For the third point, type 9 and press Enter.
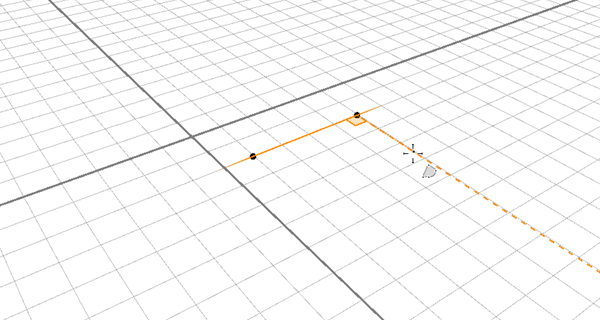
To remove the fixed length, press Esc.
- For the next few points, you won't set fixed lengths. Snap to the 90 degrees highlights and create custom lengths.
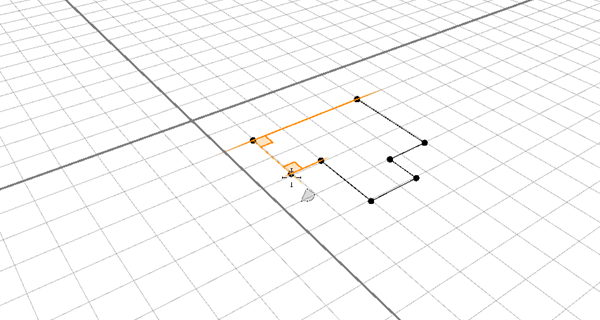
- To set the last point, click the first point, double-click, or press Enter to finish the shape.
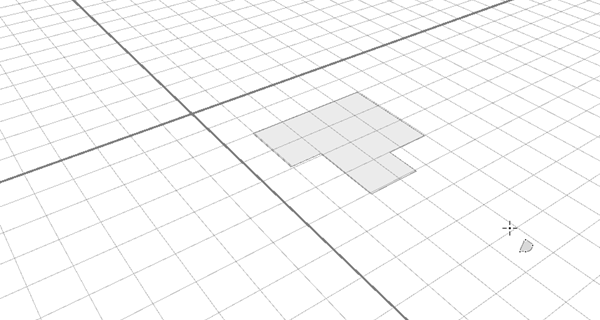
- You can now perform some fine tuning of the lines. Click the Transform Move (W) tool
 and select the edge you want to transform.
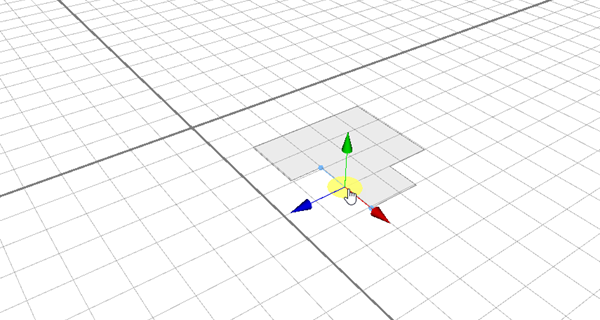
- Drag the blue handle to the location you want for the edge.
Note:
Each colored arrows move the edge in a different direction.
Extrusions
- Now you can create a 3D shape. Click the Push Pull Tool (P)
 and hover over the polygon.
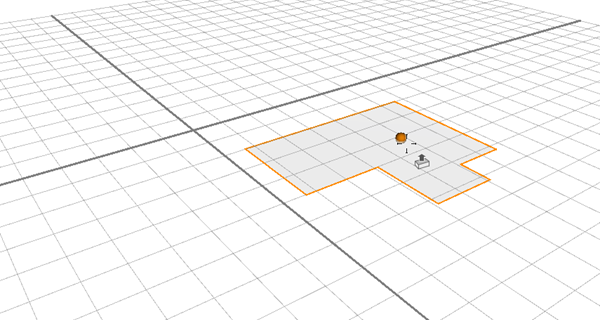
- Drag the orange handle and release to finish the 3D shape.
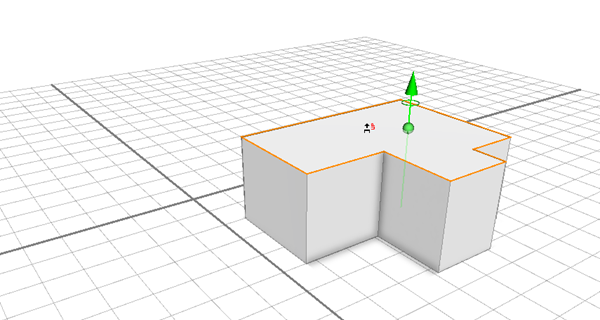
- Hover over the front edge until you see the highlight for the midpoint snapping.
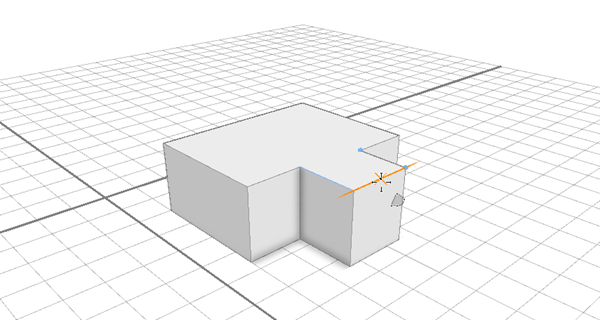
- Click to start the segment, and when it snaps perpendicularly to the edge, click to finish.
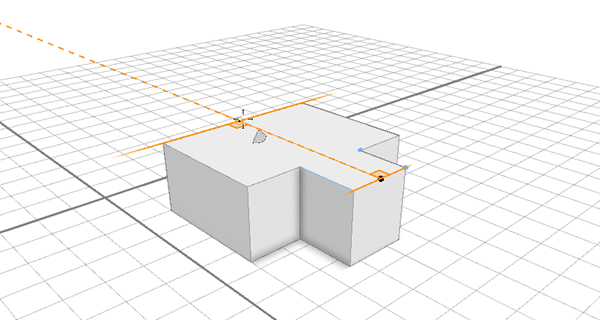
- You can now use the edge handle to drag the edge to create a slanted roof . Hover over the edge and drag the orange handle.
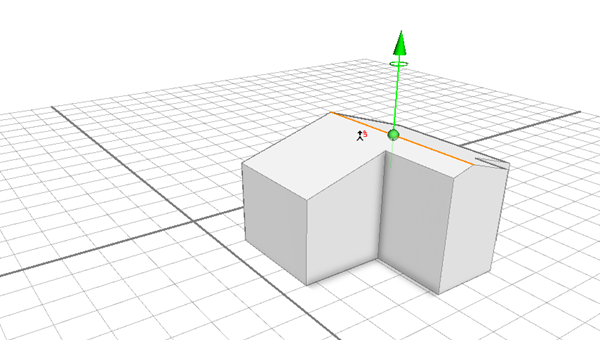
A reference scene of this can be found in 14_B_Advanced_02.cej.
- Drag the green arrow on the back edge to make the roof flatter.
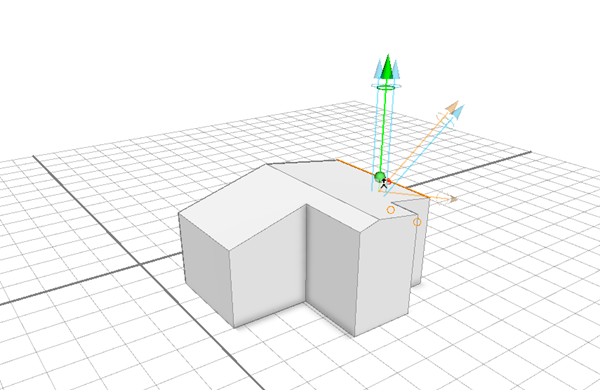
Different colored arrows allow you to extrude the shape in different directions. You can switch between the directions by hovering over the arrow while dragging the edge.
- Modify the 3D shape. Hover over the side polygon, and drag the green handle. Again, there are multiple arrows for different directions.
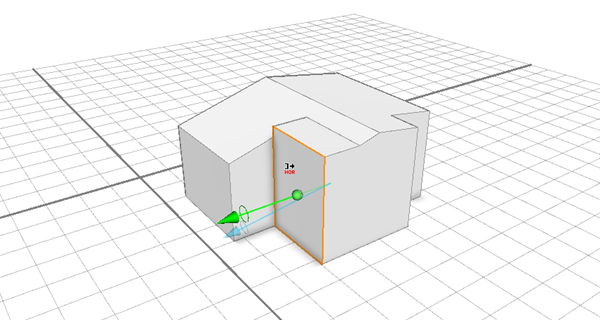
The colored arrows have different behavior. The green drags parallel to the ground plane and creates a new top polygon.
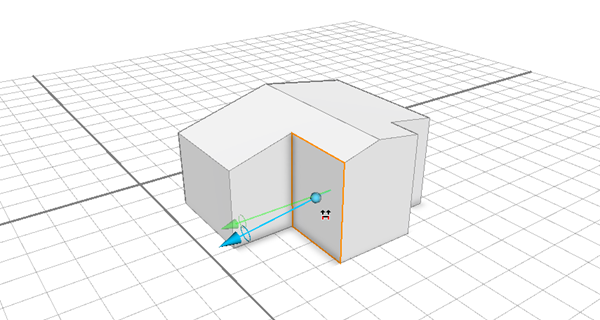
The blue arrow drags along existing edges without creating a new polygon. Both types can be very useful depending on the shape you want to create.
- Use the Polygonal Shape Creation (S)
 or the Rectangular Shape Creation (Shift+S)
  tools to draw a balcony to be extruded. Create a balcony by drawing a rectangle.
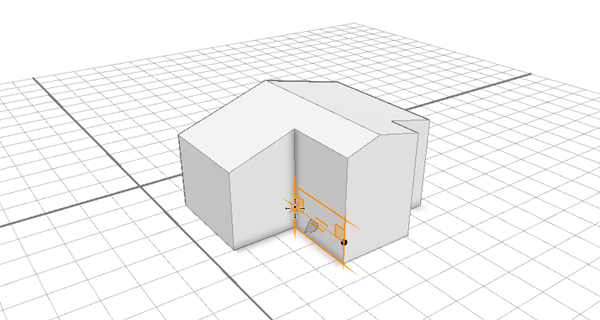
- Hover over the new polygon and drag the handle.
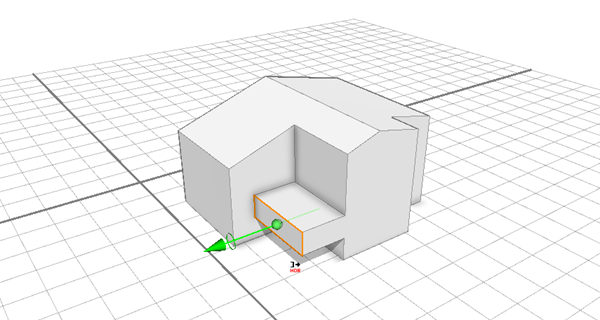
- Click the Polygonal Shape Creation (S) tool
 to create a polygon to extrude the wall.
 - Now drag out the new polygon.
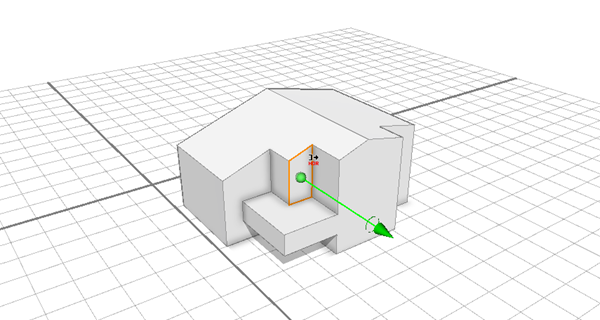
- To inset the balcony, create two segments snapping to the side walls.
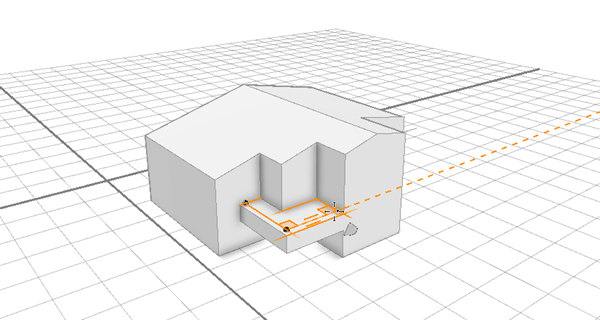
- Drag the handle of the balcony floor down.
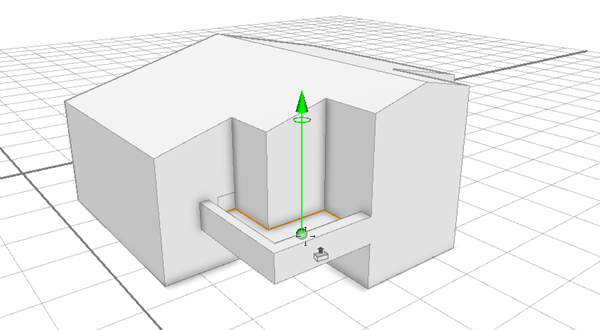
The balcony is now finished.
- Rotate the camera to the back.
- To create another balcony, click the Rectangular Shape Creation (Shift+S) tool
 and create a rectangle on the wall.
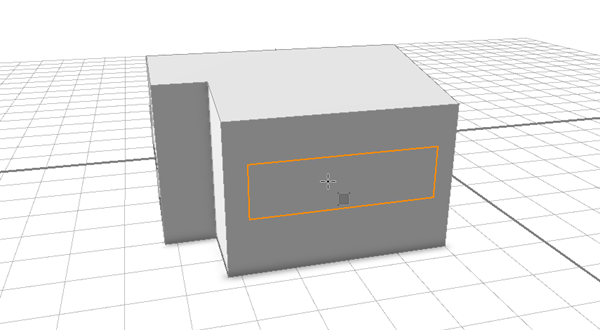
- Drag the balcony out and draw a rectangle on the top.
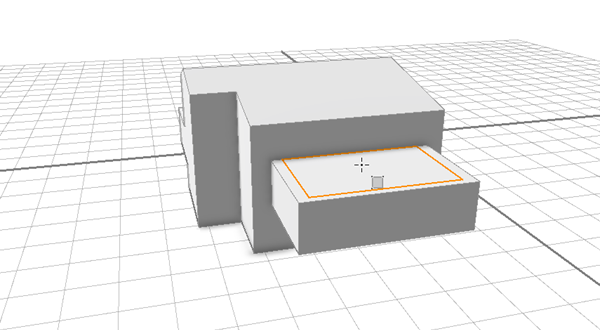
- Drag the floor down.
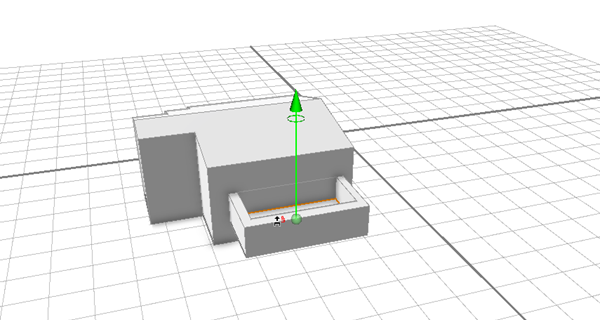
A reference scene of this can be found in 14_B_Advanced_03.cej.
Tip:
Use guides for increased precision when dragging edges and faces.
Make a overhanging roof
The basic shape is now ready, let’s create a nicer roof.
- Drag the green arrow up to separate the roof from the building.
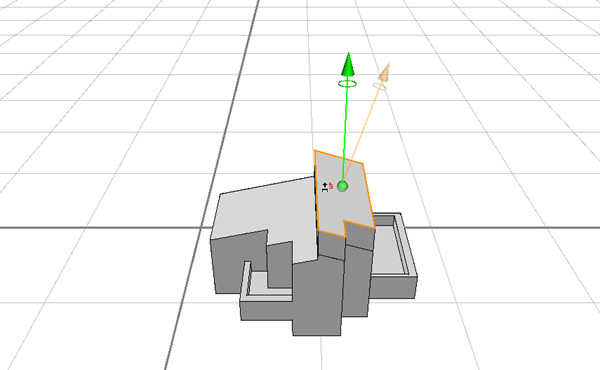
Press the Ctrl key to insert edges along the initial positions. For now, make the roof thick for easier editing, then you can make it thinner later.
- Do the same for the other polygon. When dragging, snap to the first polygon.
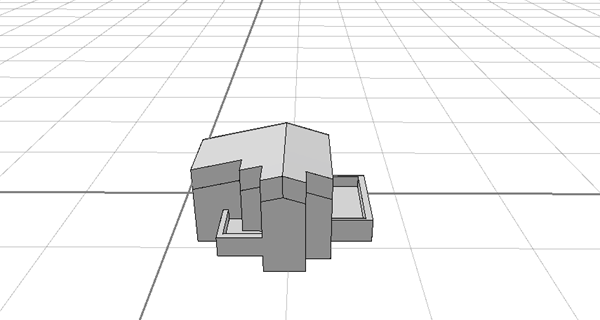
A reference scene of this can be found in 14_B_Advanced_04.cej.
- Drag the sides to make it overhang.
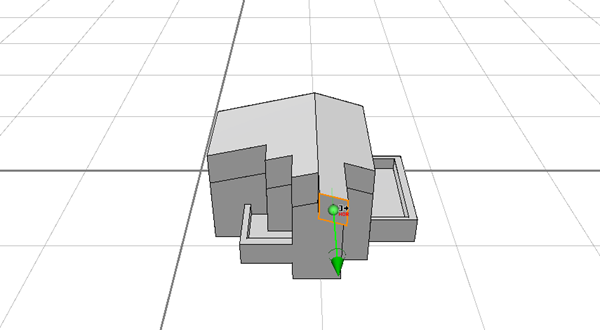
- Drag the second face until it snaps to the other face.
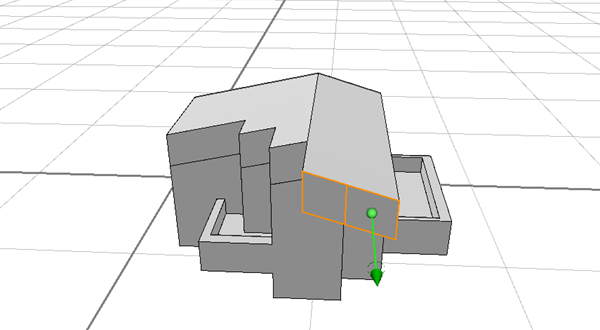
- Do the same for the other side of the roof until it looks like this:
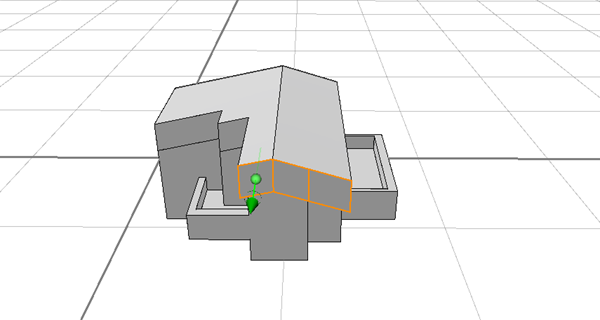
- Drag additional faces but stop before they snap to the overhang faces.
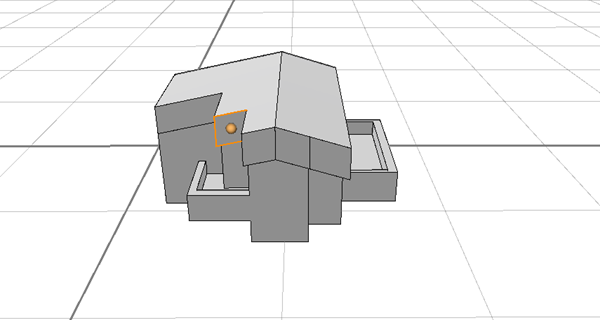
- Drag the last face until in snaps to the previous face.
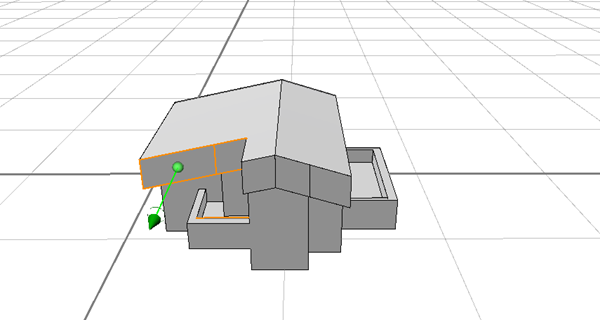
- Rotate the camera to get a nice view on the side.
- Drag the side roof face down with the blue arrow.
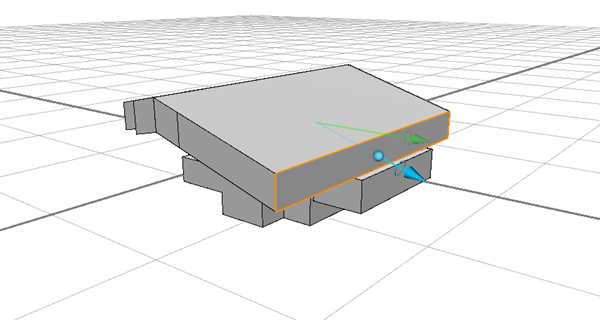
- Repeat on the other side.
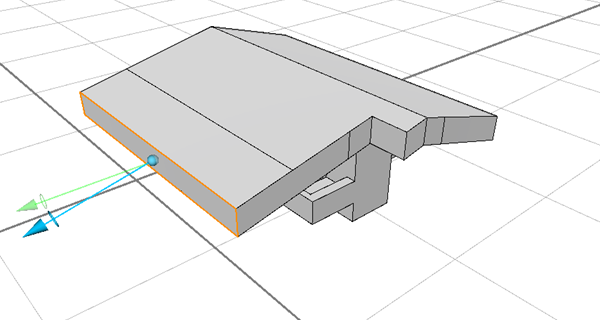
- Finally, go to the back, and drag out both roof faces.
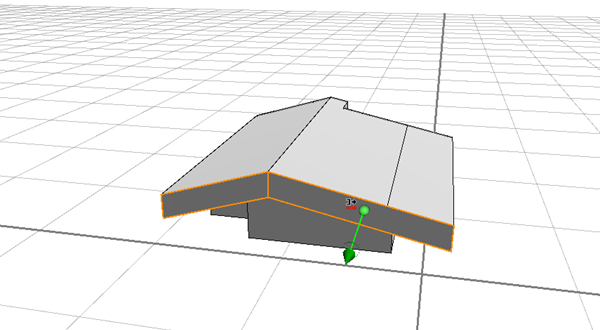
A reference scene of this can be found in 14_B_Advanced_05.cej.
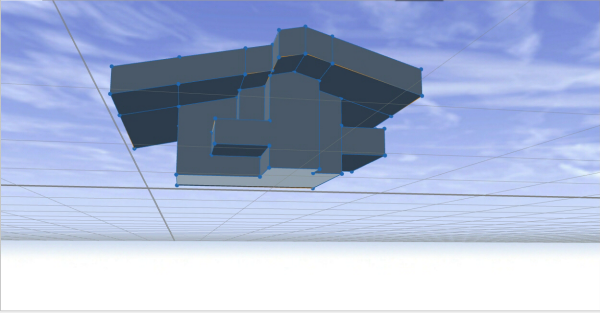
- When you rotate to the front again, note that a few extra, unnecessary lines are now on the roof. To clean this, click the Select tool
 to select the whole building.
 - Click the Cleanup shapes tool
 .
. 
- Keep the defaults as they are and click Finish.
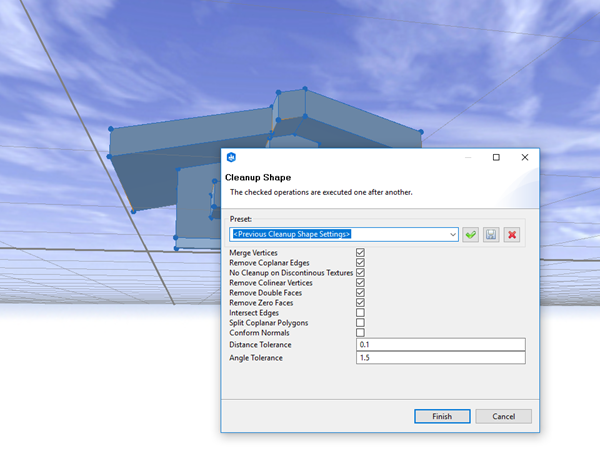
Most of the lines are now gone. You may have to use this tool twice to remove all lines.
A reference scene of this can be found in 14_B_Advanced_06.cej.
Modify roofs, windows, and doors
- Make the roof thinner: To move multiple polygons at once, use the standard selection and the transform tools.
- Select the first polygon with the Select tool
 . Press Ctrl and click the second polygon.
 - Click the Transform Move (W) tool
 and drag along the green arrow.
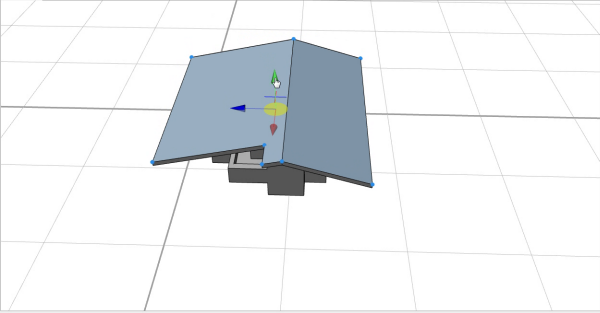
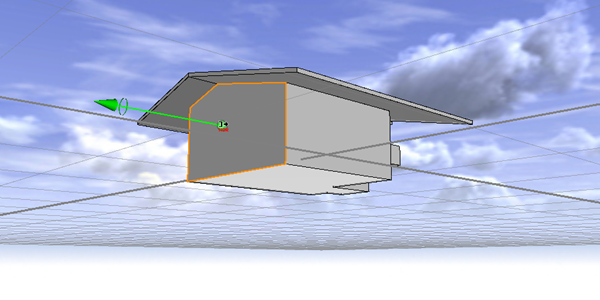
- You can now fine-tune the building by dragging planes using the Push Pull Tool (P)
 .
.
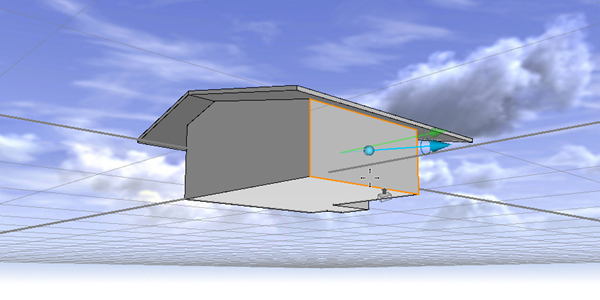
A reference scene of this can be found in 14_B_Advanced_07.cej.
- Start decorating the building. Draw two rectangles for the windows.
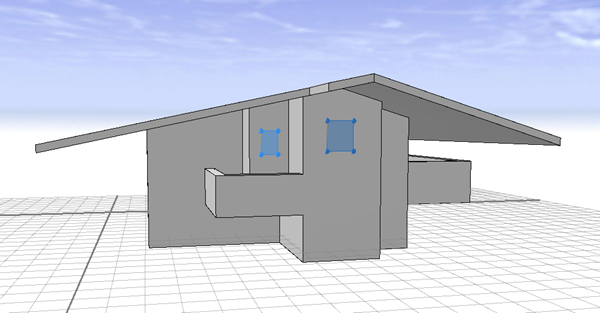
- Click the Push Pull Tool (P)
 to drag rectangles inwards.
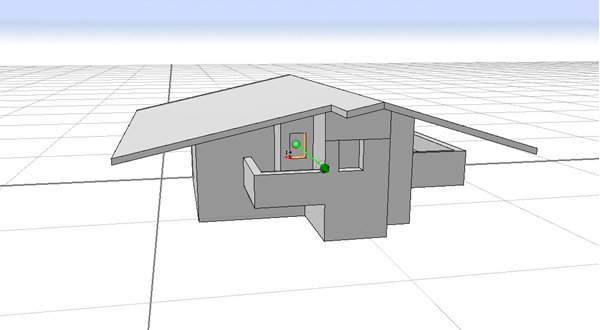
- Now create two doors. Rotate and zoom the camera a bit to get a clear view.
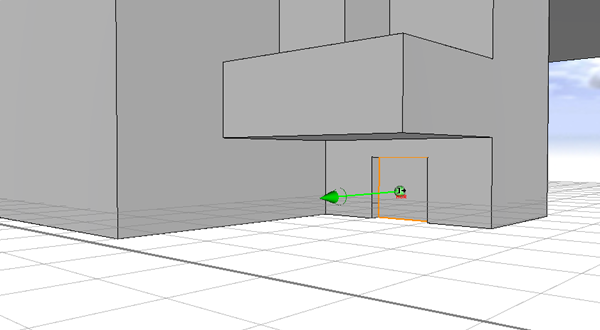
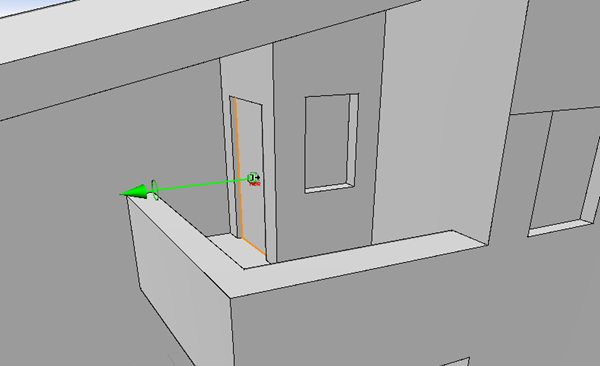
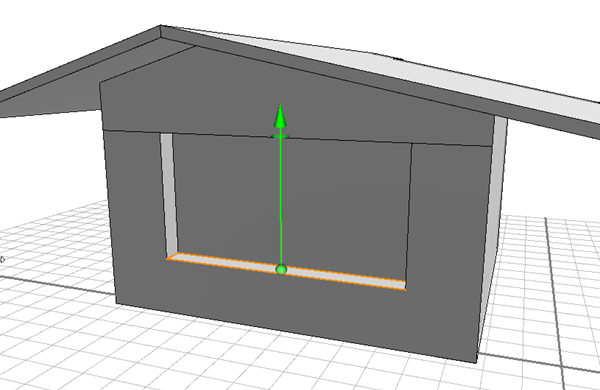
- Rotate the building, create a back window, and drag the window frame.
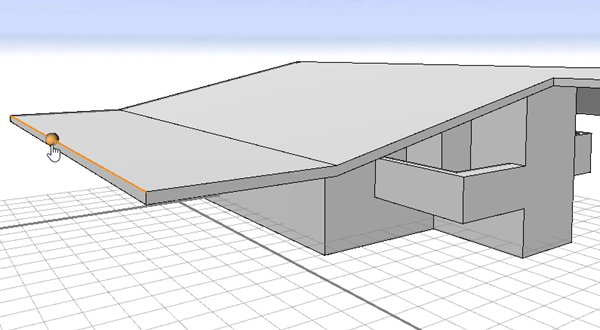
- Rotate and drag out the roof along the green arrow. This creates an open garage.
- To create columns, first rotate down. Draw two rectangles, and drag them down to the ground.
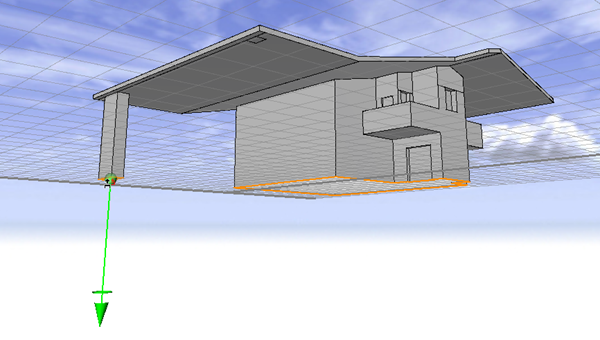
A reference scene of this can be found in 14_B_Advanced_08.cej.
Texturing
Let us add some textures.
- Click the Select tool
 to select the whole house.
 - Click the Texture shapes tool
 .
. - Click Browse, select wall_white.png in the \assets folder of the tutorial.
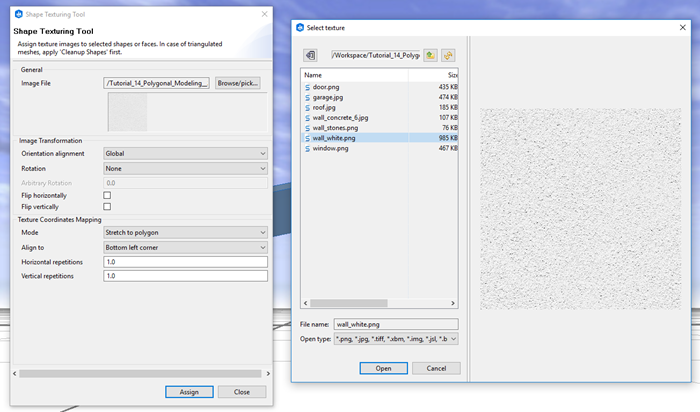
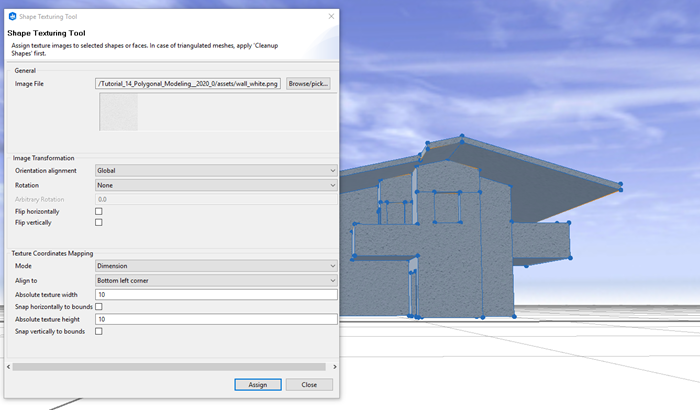
- To get a uniform look, select Mode > Dimensions.
The numbers indicate how large the texture is in meters.
- Enter 10 for both values and click Assign.
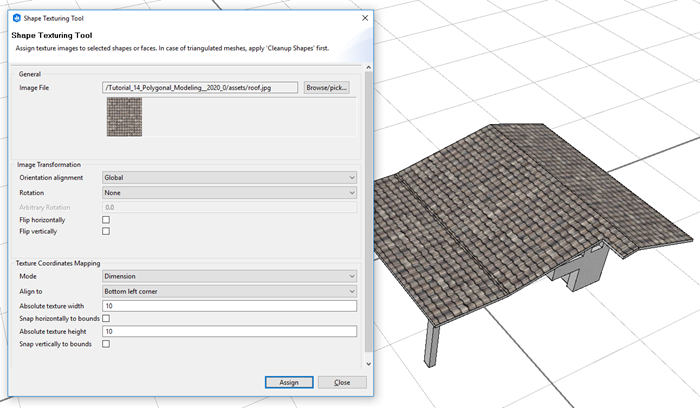
- Texture the roof now. Select all roof polygons with the Select tool
 . Press Ctrl while clicking the other polygons to select all of them.
 - Pick the roof texture in the Texture shapes tool
 dialog and click Assign.
- Let’s now texture the doors and windows. Click the Select tool
 to select the two windows.
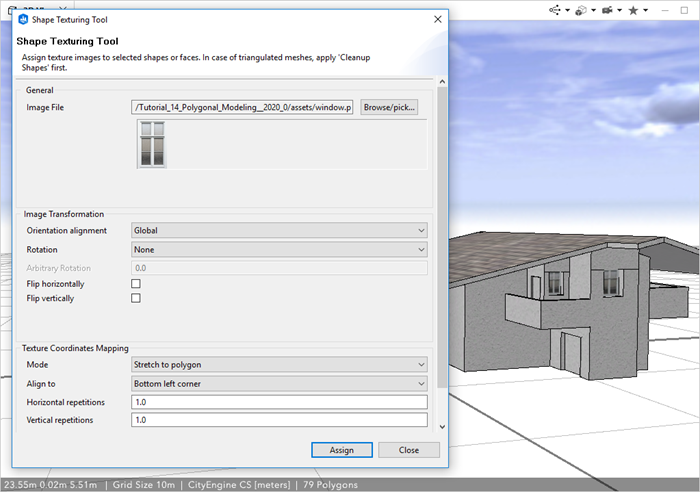
 - In the Texture shapes tool
 select the window.png file.
 - Set the mode to Stretch to polygon and click Assign.
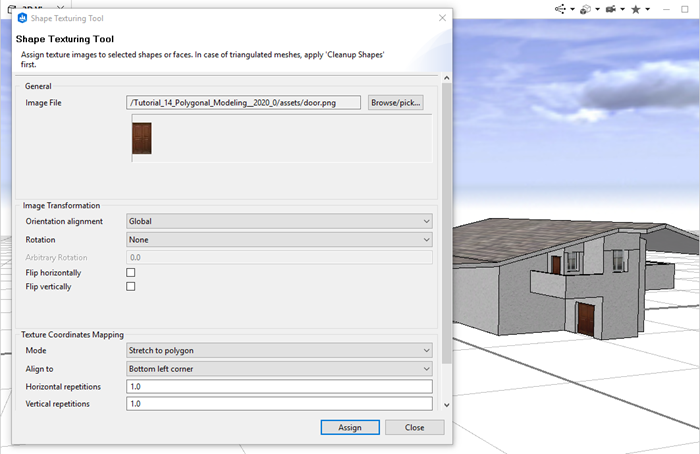
- Select the two doors, choose the door.png texture file, and click Assign.
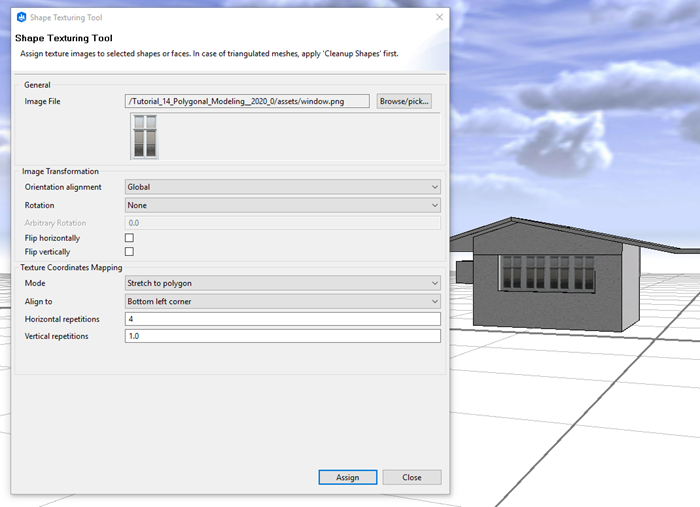
- Rotate to the back, select the windows, choose the window.png texture file , and click Assign.
It is now stretched even more.
- Enter 4 for Horizontal repetitions and click Assign again.
- To add a chimney, draw a rectangle on the roof. Drag it up along the green arrow.
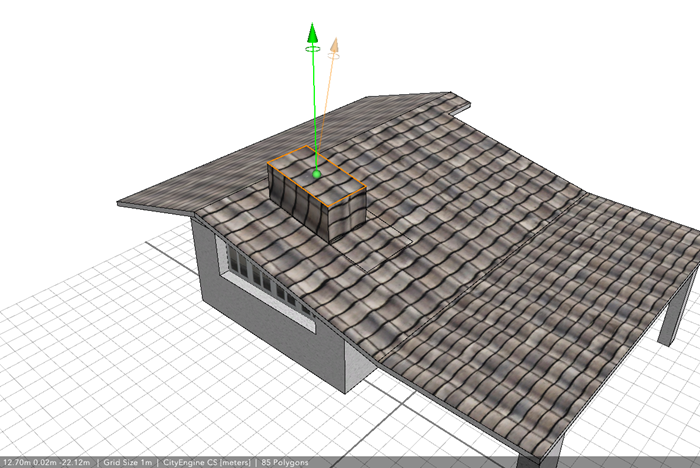
- Now drag the back edge down along the green arrow until it snaps to the front edge.
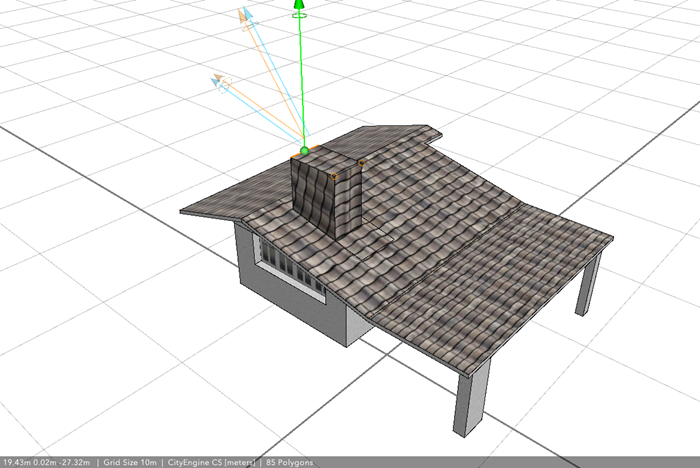
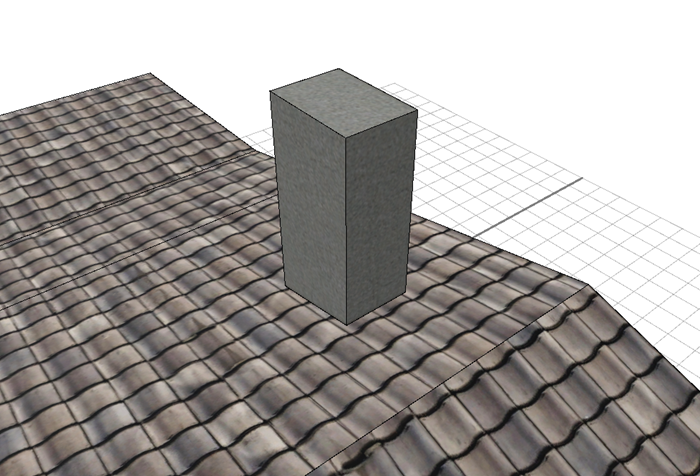
- Select all the faces of the chimney.
- Select the wall_concrete_6.png texture file, set the Dimensions option to 10, an click Assign.
- Next, add a dormer. Draw a rectangle, and drag it up.
- Drag the back edge down until it snaps.
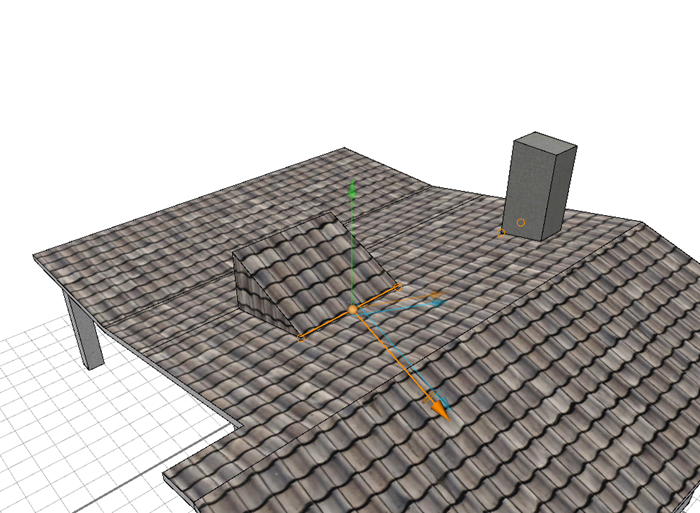
- Texture the sides.
- Draw a window on the front as you did above.
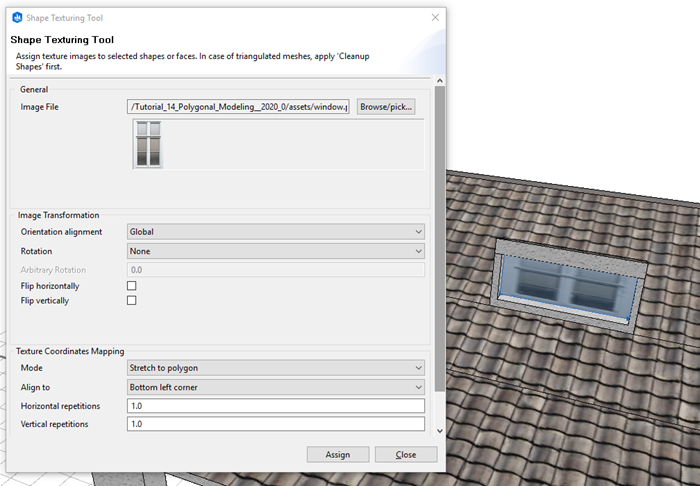
The house is now finished. You can still fine-tune the parts such as making the chimney smaller.
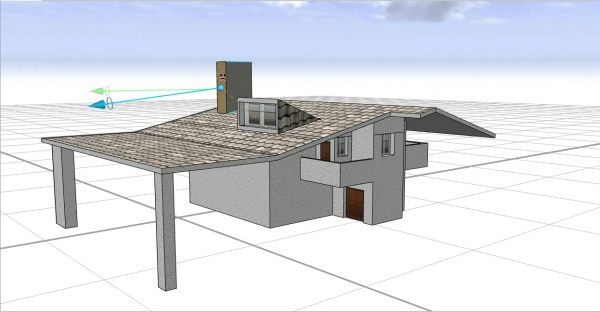
A reference scene of this can be found in 14_B_Advanced_09.cej.
Tip:
Use the shaded mode (View settings > Shaded) when editing textured shapes to better see the drawing highlights.
 Polygonal Shape Creation