Share a map on ArcGIS
Sharing a map created in Esri Maps for SAP BusinessObjects to ArcGIS is a quick and easy way to share information with others in or outside of your organization. You can share individual layers or the entire map. When you share a map, a web map is created on ArcGIS, where you can do more work on it.
Note:
You can only share a map to ArcGIS if you are signed in with an organizational account that has publisher permissions. If you are unsure of your account permissions, contact your ArcGIS subscription administrator.
- Sign in to ArcGIS if you are not already signed in.
- From the Tools menu, choose Share map.
- Specify a title, tags, and description for the map and choose whether to share it with everyone (public), your organization, or any groups to which you belong. These fields are used to display information about the map on ArcGIS, and are also used for searching.
- Press Share to share the map to ArcGIS as a web map. Note that publishing may take several minutes depending on the amount of data in your map.
Once the map has published successfully, a message appears at the bottom of the Contents pane along with a link to view the shared map on ArcGIS.
Note:
You can update the map and republish it to ArcGIS by pressing Update shared map under the Tools menu and modifying the information you entered as needed.
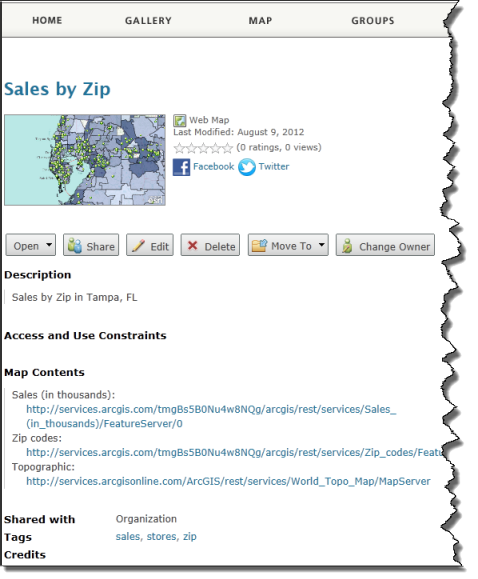
- Press the link at the bottom of the Contents pane to view the published map. The web map details page opens in ArcGIS. The details page displays the title, tags, and description that you entered previously.

- Press Open to open the map in the ArcGIS.com map viewer, ArcGIS Explorer Online, or, if installed, ArcGIS for Desktop.